Espresso feels mysterious because the feedback loop is fast and unforgiving. A tiny grind change can swing flavor dramatically. A sloppy routine can make two shots from the same coffee taste like different beans. And the internet tends to treat espresso like a personality test rather than a beverage.
This guide is meant to do the opposite. It gives you a calm method that works with most home machines and grinders. You’ll learn how to set a target, change one variable at a time, and use taste to decide what to do next. The goal is not “perfect espresso.” The goal is reliable espresso you like, on weekday mornings, without turning your counter into a lab.
What “dialing in” actually means
Dialing in is simply aligning four things:
- The coffee’s natural character (bright, chocolatey, floral, nutty)
- Your recipe (dose and yield: how much coffee in, how much espresso out)
- Your grind and flow (how quickly water passes through the puck)
- Your workflow (how evenly the puck is prepared, and how consistent your routine is)
When any one of these is unstable, you’ll chase your tail. So the fastest route to better espresso is not more variables. It’s fewer variables, made consistent.
Start with a simple target you can repeat
A good beginner-to-intermediate starting point for most medium roasts is:
- Dose: whatever fits your basket comfortably (commonly 18g in a “18g” basket)
- Yield: 2:1 ratio (e.g., 18g in → 36g out)
- Time: 25–35 seconds (from pump on to yield)
Treat these numbers as a compass, not a moral rule. Some coffees taste better shorter (ristretto-ish), others open up longer. Lighter roasts often like higher yields. Dark roasts often taste better slightly shorter.
But you need a starting point. Without one, every shot is a new argument.
The two controls that matter most: ratio and grind
Espresso has dozens of variables, but two do most of the heavy lifting in flavor.
1) Ratio (dose → yield)
Ratio is how much you concentrate the cup.
A shorter yield (say 1:1.5) tends to emphasize body, sweetness, and intensity—sometimes at the cost of clarity. A longer yield (say 1:2.5 or 1:3) often emphasizes clarity and origin character—sometimes at the cost of heaviness.
If your espresso tastes heavy but muddled, you often need a slightly longer yield. If it tastes thin and sharp, you often need a slightly shorter yield or a finer grind.
2) Grind (flow resistance)
Grind is how quickly the puck allows water through.
If the shot runs too fast, water doesn’t have time to dissolve enough of the good stuff. If it runs too slow, water extracts too much, including harshness. Grind is the main knob for time.
In practical terms:
- Grind finer → slower shot → more extraction
- Grind coarser → faster shot → less extraction
Consistency first: lock down your workflow
Before you “chase flavor,” remove the easiest sources of randomness.
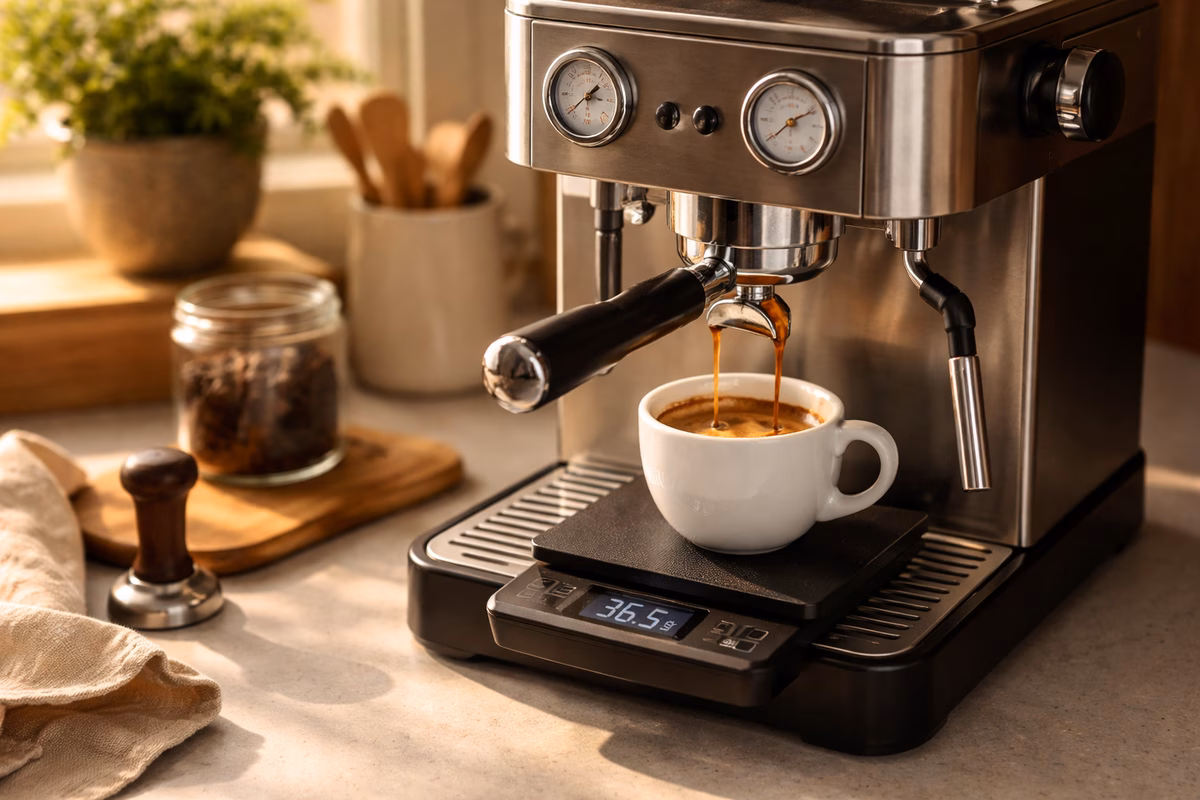
Use a scale, every time
Espresso is too concentrated for eyeballing. A scale turns “sometimes good” into “mostly good.” Weigh your dose and weigh your yield.
Purge and warm up like you mean it
A cold portafilter, cold cups, and a grinder full of stale grounds can sabotage a good recipe.
Warm the machine, warm the portafilter, and if your grinder retains coffee, purge a small amount before the first shot. This isn’t about perfection; it’s about removing the first-shot weirdness that makes you think your grind is wrong.
Choose one puck prep routine and keep it
You don’t need an elaborate ritual. You need a repeatable one.
A good baseline:
- Dose into the basket.
- Break up clumps (WDT if you have it, or gentle tapping).
- Level (a simple distribution/leveling step).
- Tamp straight, firm, and consistent.
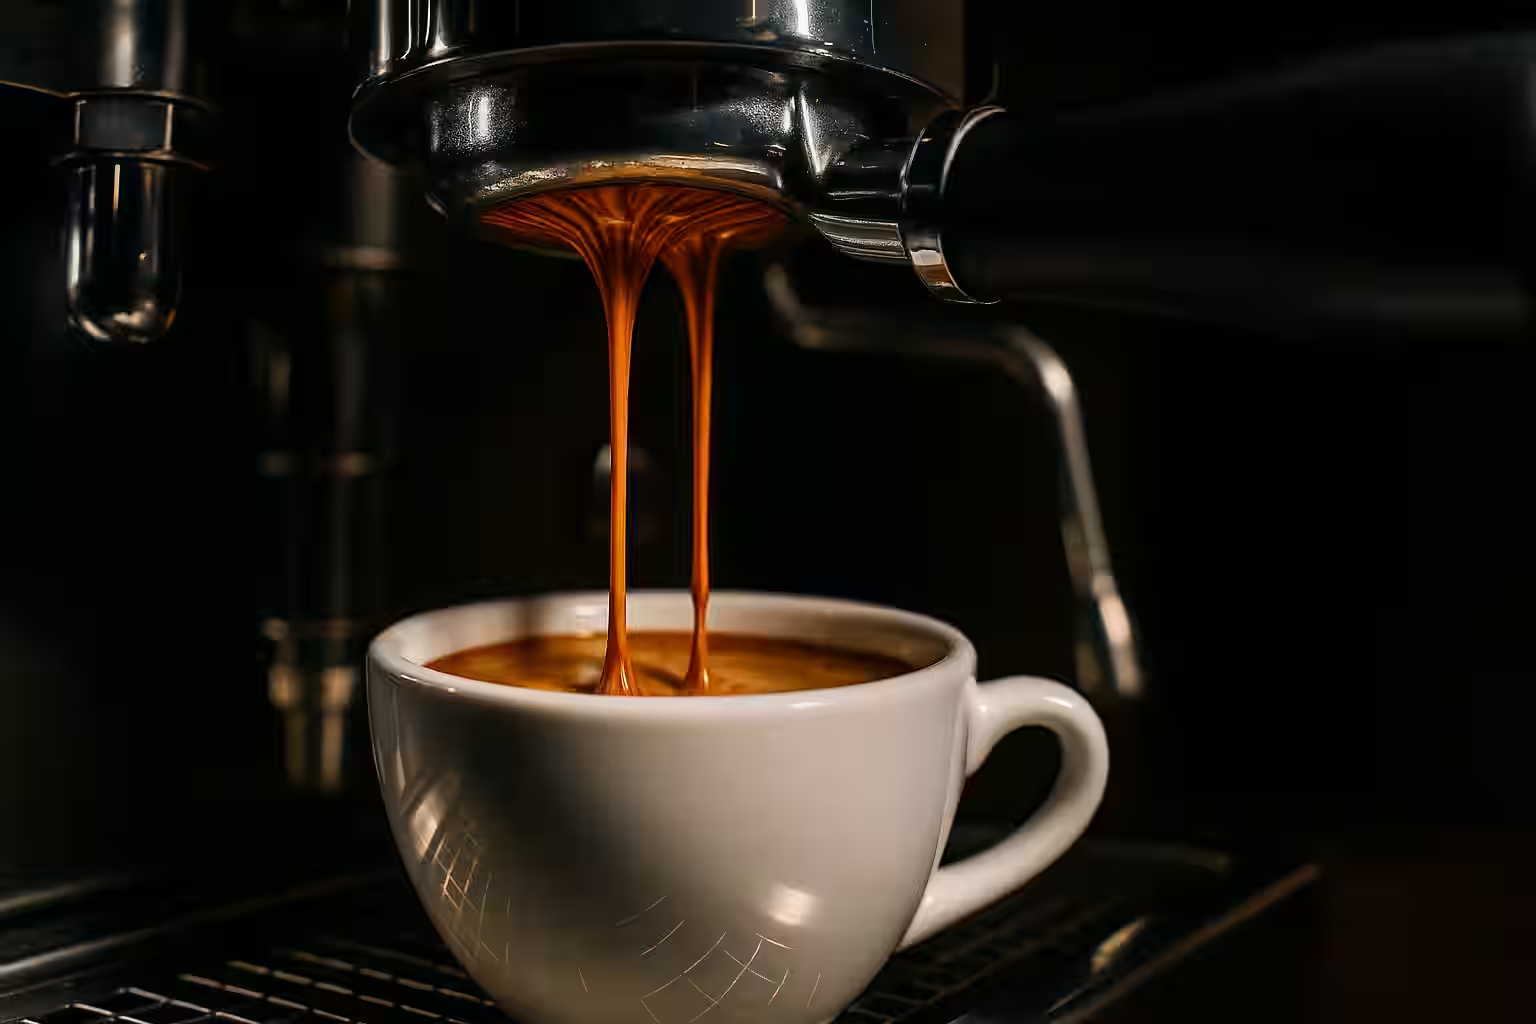
The point is to avoid channels—thin paths where water races through, under-extracting part of the puck while over-extracting another.
If you use a bottomless portafilter, don’t treat it as a performance stage. Treat it as feedback. Spraying and blonding are not “failure”; they’re data that your puck prep is not yet stable.
A dial-in loop that works (and keeps you sane)
Use this sequence. It keeps you from changing too many things and losing the plot.
Step 1: Set ratio, then freeze it
Pick a ratio for the coffee. Start with 1:2.
Example: 18g in → 36g out.
Keep it fixed while you dial grind. This is the single most common mistake: changing ratio and grind simultaneously, then not knowing which one helped.
Step 2: Adjust grind to hit a reasonable time
Pull a shot and record:
- Dose
- Yield
- Time
- Taste
If you get 36g out in 15 seconds, go finer. If you get 36g out in 50 seconds, go coarser.
Step 3: Use taste to choose the next move
Time is not the goal. Taste is the goal. Time just helps you stay in a sensible range.
Use simple taste anchors:
- Sour / sharp / thin usually means under-extracted. Go finer, or increase yield a bit.
- Bitter / dry / harsh usually means over-extracted. Go coarser, or reduce yield a bit.
- Hollow / watery often means your ratio is too long for the coffee, or your puck prep is inconsistent.
- Muddled / “coffee soup” often means your ratio is too short or your brew is uneven.
If you can’t tell sour from bitter yet, don’t panic. Many people call sharp acidity “bitter” because it feels unpleasant. A useful trick is to pay attention to where you feel it. Acidity tends to feel bright and high (cheeks/edges). Bitterness tends to sit darker and later (back of tongue, lingering dryness).
When to change ratio (and when not to)
Once you’ve found a grind that produces a stable shot and tastes “pretty good,” ratio becomes your refinement tool.
Make it shorter when…
The espresso tastes thin, sharp, or you want more body. Shortening yield often concentrates sweetness and gives the cup more weight.
Make it longer when…
The espresso tastes heavy or closed-in, or the coffee’s “interesting” notes never show up. Extending yield can reveal fruit, florals, and complexity.
Small changes are powerful. Move in steps like 36g → 40g, not 36g → 60g.
Common problems (and the fix that usually works)
“It looks great, but it tastes harsh”
Your shot can look syrupy and still be over-extracted. Try one of these moves:
- Go slightly coarser while keeping ratio the same.
- Reduce yield a little (e.g., 36g → 32–34g).
Also consider whether you’re using a darker roast than you think. Darker coffees are less forgiving at high extraction.
“It runs fast and blondes immediately”
This is often under-extraction plus channeling.
Go finer, and simplify puck prep. Focus on even distribution and a level tamp. If your basket is underfilled for your dose, consider using a smaller basket or a slightly higher dose to reduce headspace.
“I can’t make it consistent day to day”
If your same recipe tastes different every morning, it’s usually one of these:
- The grinder is retaining old grounds (purge the first dose).
- Your beans are aging and degassing (expect to nudge grind finer as coffee gets older).
- Your puck prep is drifting (inconsistent leveling/tamping).
- Your machine is not fully warmed up.
Consistency is a system problem before it’s a taste problem.
A note on lighter roasts (why they can feel difficult)
Lighter roasts often have higher perceived acidity and can taste thin if you under-extract them. They frequently benefit from:
- Slightly higher yield (1:2.2 to 1:2.8)
- Higher brew temperature (if your machine supports it)
- Very consistent puck prep
If you’re learning espresso, there is no shame in starting with medium roasts. They are more cooperative teachers.
The best “end state”: a house recipe
A house recipe is the set of decisions you stop re-litigating every day.
It might be:
- 18g in → 36–40g out
- 28–32 seconds
- One grinder setting that moves slightly as the beans age
When you have that, espresso becomes relaxing. You stop tinkering and start tasting. And you can still nerd out—just on purpose, not because your morning depends on it.
If you want to go deeper after you get stable, the next high-signal upgrades are not exotic accessories. They’re better water and a more consistent grinder. Everything else is optional.