The summer I fell in love with cold brew, I wasn’t looking for coffee. I was looking for an excuse to sit still.
It was August. The apartment was hot. My pour-over routine—the one I’d spent months perfecting—felt wrong. The kettle steaming in a kitchen already at eighty-five degrees. The hot mug in my hands. The sweat on my forehead while I waited for the bloom.
I needed cold coffee. But iced coffee from the shop down the street always tasted watered-down and vaguely bitter, like someone had taken perfectly good hot coffee and punished it with ice.
So I did what any reasonable person does: I put coffee grounds in a jar of cold water before bed and hoped for the best.
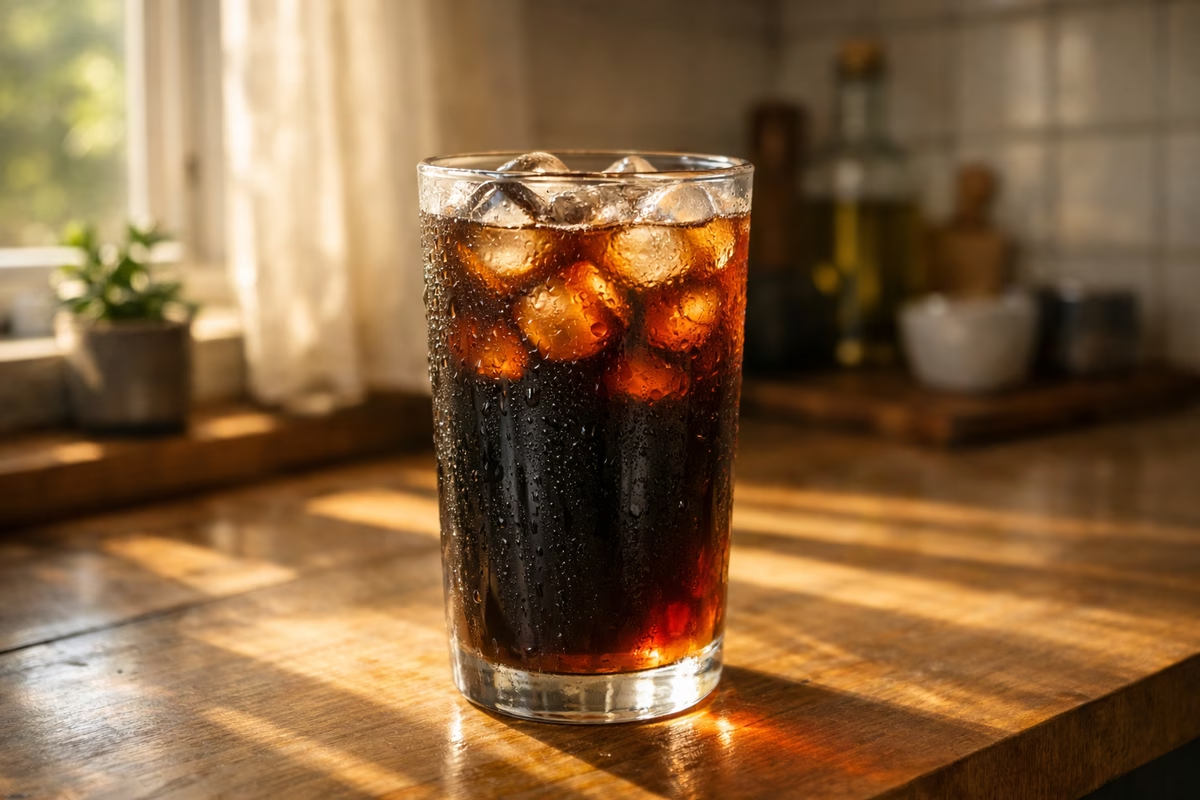
Twelve hours later, I strained it through a paper towel into a glass with ice, took a sip, and sat down.
It was sweet. It was smooth. It tasted like chocolate and stone fruit and something I could only describe as calm.
That glass changed my summer. This guide is everything I learned after it.
Why cold water changes everything
Hot water is aggressive. It extracts quickly and indiscriminately—pulling out bright acids, deep sugars, bitter compounds, and delicate aromatics in a matter of minutes. That’s what makes hot coffee exciting: it’s complex, layered, sometimes volatile.
Cold water is patient. It extracts slowly and selectively, favoring sweetness and body while leaving most of the sharp acids and bitter compounds behind. The result is a concentrate that tastes smoother, sweeter, and more forgiving than anything you could brew hot.
This isn’t better or worse than hot coffee. It’s a different conversation.
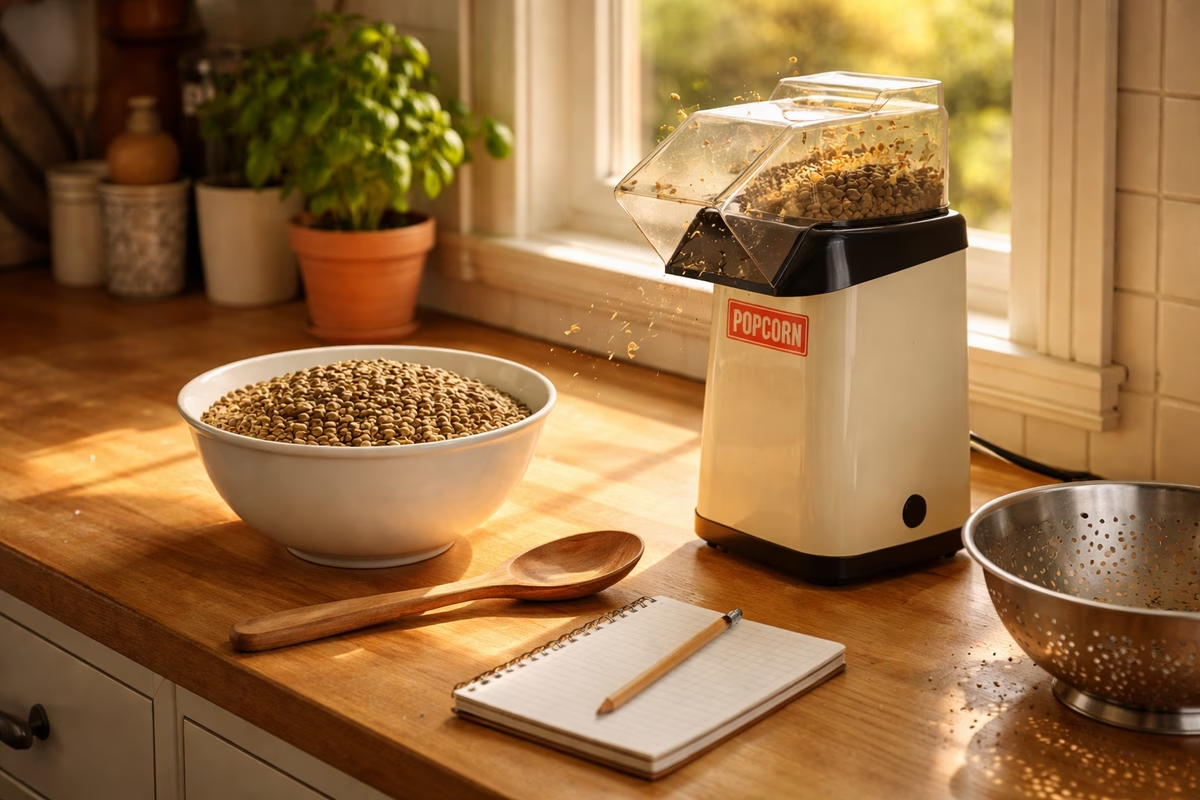
Method 1: Immersion cold brew (the jar method)
This is where most people start, and honestly, where most people stay. It’s the simplest coffee method that exists.
What you need
You need a jar, pitcher, or French press; coarsely ground coffee that looks closer to breadcrumbs than table salt; cold or room-temperature filtered water; a strainer and paper filter, unless you’re using a French press plunger; and 12–18 hours of patience.
The recipe
Ratio: 1:8 (coffee to water) for concentrate, 1:15 for ready-to-drink
For concentrate, use 100g coffee + 800g water, then dilute the finished brew. For ready-to-drink cold brew, use 60g coffee + 900g water and pour it straight over ice.
The process
Grind coarse. Finer than this and your cold brew will be muddy and over-extracted. Think coarser than French press—closer to raw sugar.
Combine coffee and water in your container. Stir gently to make sure all grounds are saturated. No dry clumps.
Cover and wait. Room temperature or refrigerator—both work, with slightly different results. Room temp brews faster and extracts a bit more body. Fridge brews slower and stays cleaner.
Strain after 12–18 hours. Pour through a fine mesh strainer, then through a paper filter for clarity. Don’t rush this; let gravity do the work.
Dilute if it’s concentrate. Mix roughly 1:1 with water or milk. Adjust to taste.
The result
Smooth, sweet, low-acid coffee that keeps in the fridge for up to two weeks. It’s the ultimate batch-prep method: twenty minutes of work gives you cold coffee for days.
Method 2: Japanese iced coffee (flash brew)
This is the method that made me rethink everything.
If immersion cold brew is patient and smooth, Japanese iced coffee is bright and alive. It tastes like the best iced version of your favorite hot coffee—because that’s exactly what it is.
The idea
Brew hot coffee directly onto ice. The ice chills the coffee instantly, locking in the volatile aromatics that would otherwise float away as steam. The result keeps the bright acidity and complex fruit notes that cold brew’s slow extraction leaves behind.
What you need
Use your normal pour-over setup, whether that’s a V60, Kalita, Chemex, or similar brewer. Add ice, a scale, and hot water just off boil.
The recipe
The trick: replace some of your brew water with ice in the carafe.
For a single cup, start with 20g coffee, ground medium-fine, slightly finer than your hot pour-over setting. Use 200g hot water and 120g ice in the carafe.
Total liquid: ~320g (the ice melts and becomes part of the coffee)
The process
- Place ice in your carafe or server
- Set up the pour-over on top
- Brew directly onto the ice using your normal technique
- The hot coffee hits the ice and chills instantly
- Swirl to melt remaining ice, pour over fresh ice if desired
Why it works
Hot water extracts the full spectrum of coffee flavor—fruit, acid, sweetness, body. The flash chill locks those flavors in before they dissipate. You get iced coffee that actually tastes like the beans you bought.
This is the method to use when you have a bright, fruity single-origin coffee and you want to taste its personality cold.
Method 3: The quick cold brew (when you forgot to plan)
Sometimes you want cold brew and you didn’t start it last night. Here’s the shortcut.
The 2-hour quick steep
Grind medium-fine, which is finer than normal cold brew, and use a slightly stronger 1:12 ratio. Steep at room temperature for 2–3 hours, then strain through paper.
It won’t be as smooth as a 16-hour brew, but it’s remarkably good for the time investment. The finer grind compensates for the shorter extraction time.
Choosing your method: a feel guide
| You want… | Use this method |
|---|---|
| Smooth, sweet, low-acid | Immersion cold brew (12–18 hours) |
| Bright, complex, fruit-forward | Japanese iced coffee (5 minutes) |
| Batch prep for the week | Immersion concentrate (dilute as needed) |
| Quick afternoon pick-me-up | Quick steep (2–3 hours) |
| Rich, creamy latte base | Immersion concentrate + milk |
The beans that work best
Not all coffee tastes great cold. Here’s what I learned through a summer of experiments: immersion cold brew tends to reward medium to dark roasts with chocolate, nut, and caramel notes. Central American coffees, Brazilian coffees, and blends designed for sweetness and body usually behave well in a long cold steep.
Cold brew’s low acidity flattens bright, fruity coffees. If you use a light-roast Ethiopian, you might get something hollow instead of juicy. Save those beans for flash brew.
Japanese iced coffee is the opposite. It shines with light to medium roasts that have fruit, floral, and citrus notes: Ethiopian, Kenyan, Colombian, and other single-origins where you paid for personality.
Flash brewing preserves exactly the characteristics that make bright coffees special. This is the method that justifies buying the fancy beans.
Common mistakes (and the fixes)
Bitter cold brew: Your grind was too fine or you steeped too long. Go coarser and check earlier—12 hours is often enough.
Watery Japanese iced coffee: You didn’t account for ice melt in your recipe. Use less hot water and more ice, and grind slightly finer to increase extraction.
Sour cold brew: Surprisingly common. It means under-extraction—too coarse, too short, or water was too cold. Try room temperature instead of fridge, or extend the steep.
Cloudy cold brew: Over-agitation or too-fine grind. Stir once at the beginning and then leave it alone. Strain through paper, not just mesh.
The ending: the afternoon everything slowed down
That first glass of cold brew didn’t just taste good. It changed the pace of my afternoon.
Hot coffee is a morning drink for me—it’s about activation, about starting. Cold brew turned out to be something else: permission to pause. A glass with ice in my hand, condensation running down the side, the fan turning overhead, a book open on the table.
I still brew hot coffee every morning. But sometime around June, when the air goes thick, I start a jar of cold brew the night before. And when three o’clock comes and the apartment is warm, I pour myself a glass and sit down.
It tastes like chocolate and patience and the particular sweetness of not being in a hurry.
Next steps
For the full hot brewing toolkit, read Brewing Methods . To choose beans for each cold method, continue with Coffee Bean Origins . For the details behind coarseness and extraction, use Grind Size . To build a reliable hot routine alongside the cold brew habit, see The Morning Cup You Can Repeat .