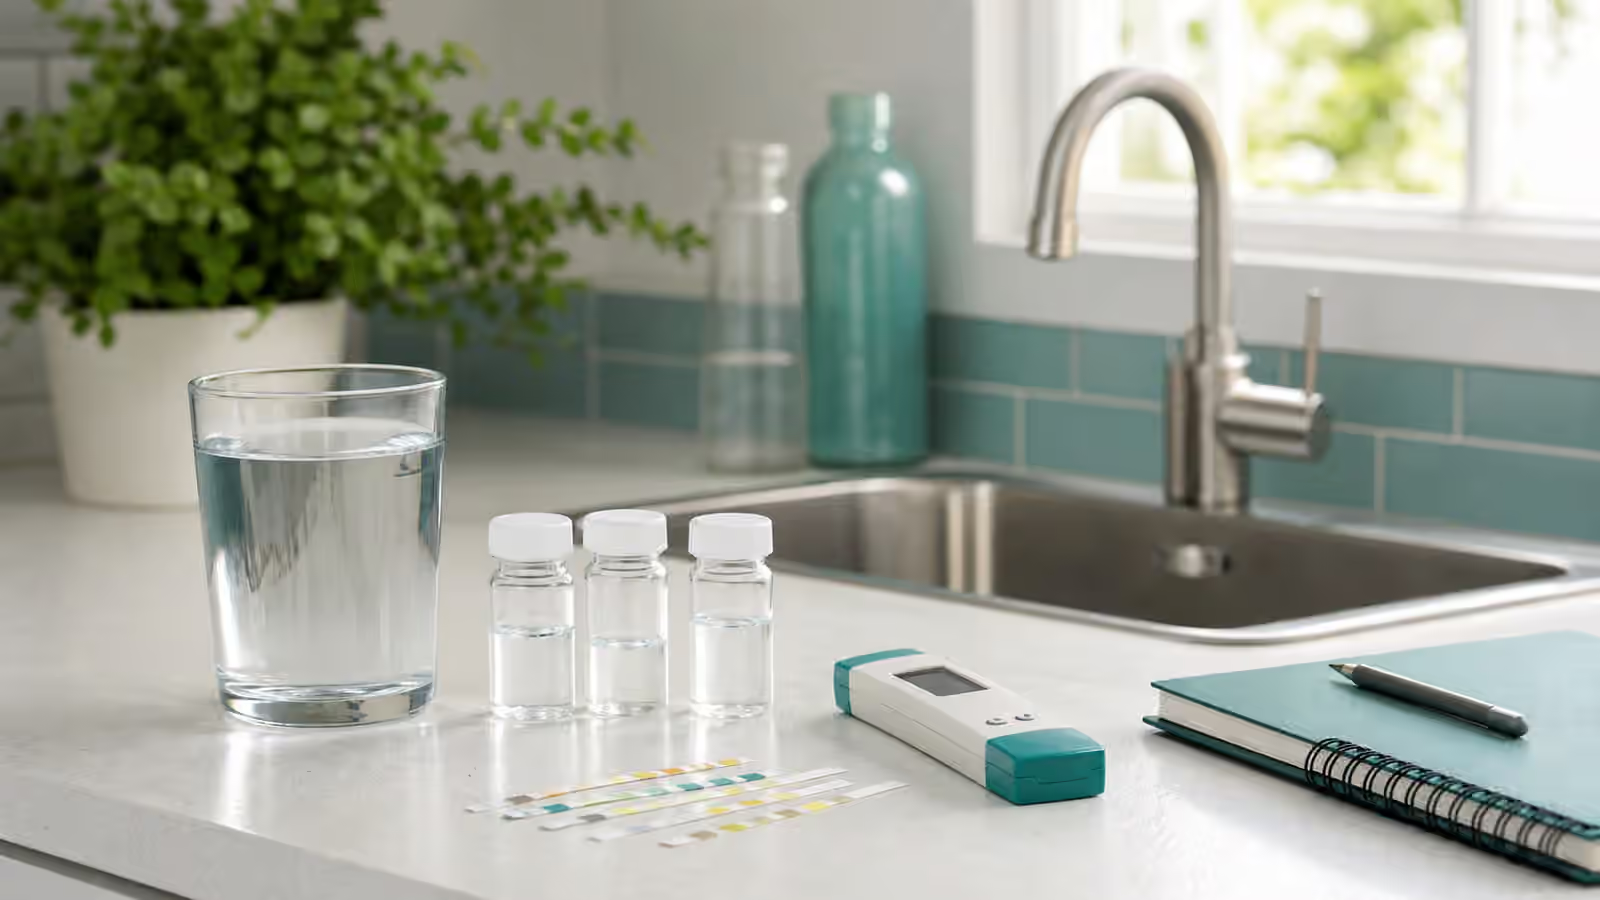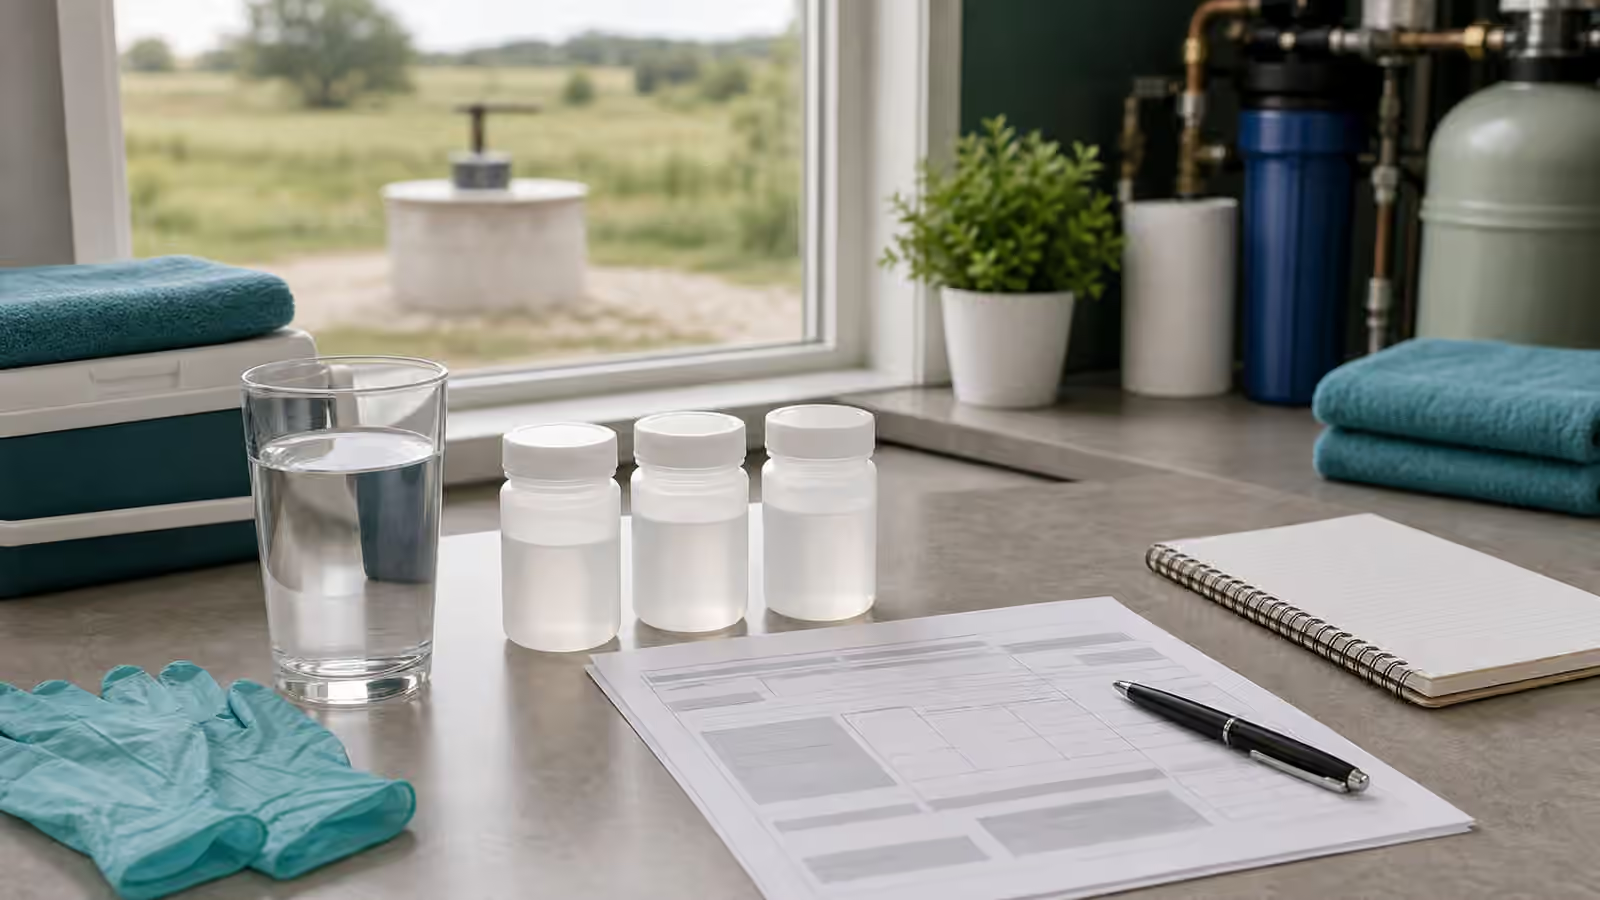
Collecting a water sample looks simple because the motion is familiar. You open a tap, fill a bottle, close the cap, and send the water away. The part that is easy to miss is that the sample is not just water. It is water from a particular tap, after a particular waiting period, in a particular bottle, collected under a particular set of instructions. Change those details and the result can answer a different question from the one you meant to ask. For background, see EPA — Home Drinking Water Testing .
Clear Water Lab helps with everyday water decisions, reports, testing, certification checks, and maintenance. It is not medical advice, legal advice, or a substitute for local boil-water notices, certified lab results, utility instructions, or health department guidance.
Start with the question the sample should answer
A good sample starts before the bottle touches the faucet. Write the question in one sentence. You may be asking whether a private well needs a routine bacteria check, whether a kitchen tap should be tested for lead, whether an under-sink treatment device is changing a known contaminant, whether a taste complaint follows one fixture or the whole home, or whether a recent plumbing repair left debris and metal notes behind. Those are not the same sample.
This is why Home Water Testing treats test strips, meters, public reports, and certified labs as different kinds of evidence. A kitchen-counter check can be useful for orientation, but a lab bottle usually comes with a method. The method decides how long the water should sit, whether the tap should be flushed, whether the aerator stays on, whether the bottle contains preservative, whether the sample needs chilling, and how quickly it should arrive. Those details are not decoration around the test. They are part of the test.
Public water customers and private well owners also begin from different places. A public water quality report can tell you what the utility system detected, but it may not settle a building-plumbing or fixture question. How to Read Your Water Quality Report is useful before sampling because it can keep you from testing blindly. A private well household has no utility report written for that specific well, so the sampling plan often depends on local geology, recent storms, well construction, treatment equipment, and the reason for concern.
The bottle is part of the evidence
Treat the bottle as a prepared instrument, not as empty packaging. If a lab sends a sterile bottle, a bottle with powder, a bottle with liquid preservative, or a bottle marked for a specific contaminant, do not rinse it, wipe inside it, transfer water into it from another cup, or swap it for a cleaner-looking container from the kitchen. The inside of the cap and the inside of the bottle are controlled spaces. Touching them can add exactly the kind of stray material the test is trying to avoid.
Some samples are more forgiving than others, but the habit should stay strict. Open the bottle only when you are ready. Keep the cap facing in a way that does not invite contact with the counter, sink, fingers, towels, or faucet. If the instructions say to fill to a line, fill to that line. If the instructions say not to overfill, do not top it off because the bottle looks partly empty. Headspace, preservative, and method requirements can matter.
The tap itself deserves the same attention. A faucet aerator can hold sediment, metal flakes, biofilm, or disturbed debris. In some tests, the instructions may ask you to remove it. In others, especially when the question is about the water as normally consumed from that fixture, the instructions may want the sample collected under normal conditions. Guessing is weaker than reading. The guide to faucet aerators and fixture clues explains why the small screen at the end of the tap can change what you observe.
Match the sample point to the route
One home can contain many water routes. The kitchen cold tap, bathroom sink, refrigerator dispenser, dedicated filtered faucet, hot-water line, hose bib, well pressure tank, pre-filter line, post-filter line, and storage tank outlet can each tell a different story. A sample from one point should not be casually treated as a whole-house result.
If the question is about the source water from a private well, a post-treatment drinking faucet may hide the raw condition. If the question is about a point-of-use filter, the sample should make clear whether it was collected before or after that device. If the question is lead from plumbing, the method may involve stagnation time at a specific tap rather than a flushed sample from a utility room. If the question is taste from a refrigerator dispenser, sampling the sink can miss the cartridge, tubing, and reservoir that shape the complaint.
The same discipline applies after treatment changes. A new reverse osmosis system, softener adjustment, UV service, sediment cartridge, or carbon filter can change the route. Water Treatment Stage Order is helpful because it shows how each stage affects the next one. When you sample, name the route in plain language: kitchen cold tap before filter, kitchen drinking faucet after RO, raw well tap before softener, or bathroom sink hot side after water heater. That sentence may become more useful than the number by itself.
Timing changes what the bottle captures
Water that has been sitting in plumbing is not the same sample as water after several minutes of flow. A first-draw sample can emphasize fixture, pipe, service line, or stagnant-water behavior. A flushed sample can better represent the water after the line has cleared. Neither is universally better. Each answers a different question.
Lead testing is the easiest example to understand. If the instructions call for first-draw water after a defined stagnation period, flushing first may make the sample less useful for that method. If the instructions call for a flushed sample for another contaminant, taking water that has sat overnight may answer the wrong question. Stagnant Tap Water explains the broader pattern: waiting time, vacations, building plumbing, and first-use water can matter.
Timing can also matter around events. A sample collected the morning after a plumbing repair, flood, long vacancy, filter change, pressure loss, or shock chlorination may not represent ordinary conditions. That does not make it useless. It means the result needs a label. If you want a baseline, wait for the conditions the lab or local guidance recommends. If you want to understand an event, write the event down so the result is not mistaken for a normal day.
Keep the sample boring after collection
Once the bottle is closed, your job is to keep the sample from becoming a new experiment. Put it where the instructions say it belongs. Some samples need to be chilled. Some need to arrive quickly. Some have holding times that make a delayed shipment less useful. Some should not be frozen. Some should not sit in a hot car while errands happen. The lab is not being fussy when it gives handling instructions. It is protecting the meaning of the result.
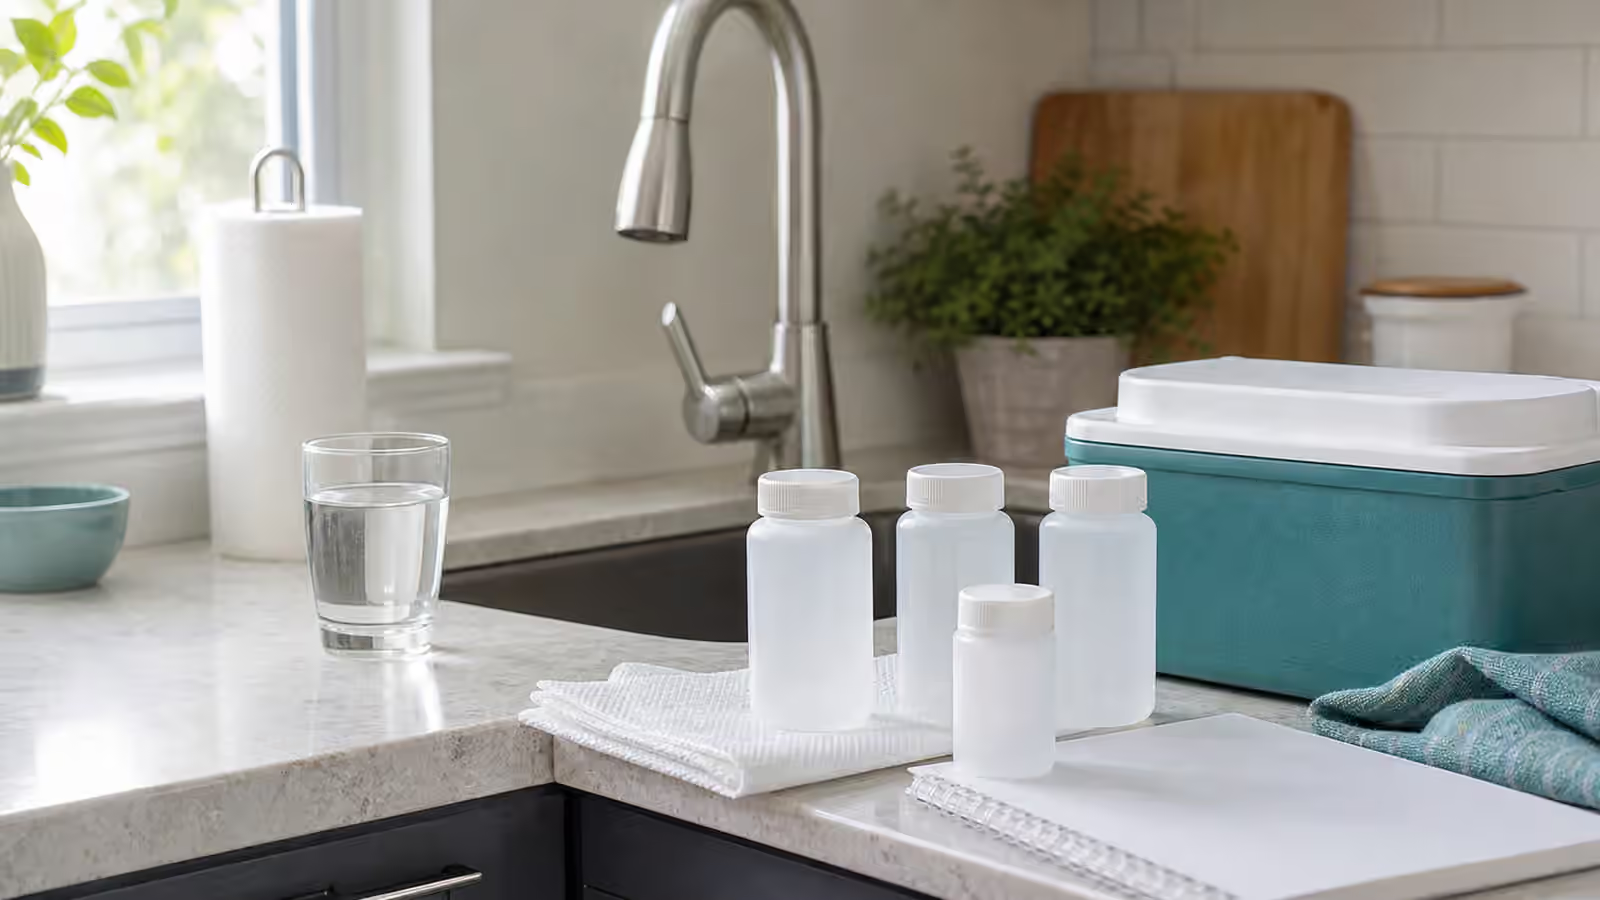
The simplest setup is often a clean counter, a paper towel, the lab paperwork, a clock, and a cooler if the instructions call for one. Fill the bottle, close it, check the label or form, note the time, and move it into the required storage. Do not reopen it to admire the water. Do not pour off extra water unless the instructions tell you to. Do not combine bottles because two small samples seem inefficient. A calm sample is usually a boring sample.
This is also the moment to keep context beside the bottle. Write the date, time, tap, hot or cold side, recent flushing or stagnation, filter status, recent repairs, weather events for a well, and any unusual observation. Lab Result Units and Detection Limits helps after the report arrives, but interpretation is easier when the collection details are still attached.
Use the result with the same discipline
A lab result is not a shopping list by itself. It tells you what was found in the sample that reached the lab, using the method reported, within the limits of that method. It may support a treatment decision, a retest, a utility call, a well-service conversation, or a decision to verify a filter claim. It does not automatically prove that every other tap behaves the same way.
If the result points toward treatment, move from the named contaminant to a named claim. How to Verify a Water Filter Claim explains why the model number, cartridge, certification standard, capacity, and maintenance rules matter. If the result belongs to a private well, keep it with your records. Well Water Sampling Log is the companion habit because one result becomes more useful when it sits inside a pattern.
The goal is not to make home sampling dramatic. It is to make the sample honest enough that the next decision has a foundation. A clean bottle, a matched tap, careful timing, boring handling, and good notes can prevent a surprising number of bad conclusions.