Buy a filter that promises to trap fine particles, slide it into the return, and it is tempting to believe the work is finished. But a filter only cleans the air that is actually forced through its media. Any air that slips around the frame skips the filter completely and carries its full load of dust, pollen, and smoke straight back into the room. That shortcut is called bypass, and it is one of the most common reasons a home with a perfectly good filter still feels gritty on the shelves. The printed rating describes the fabric. The fit decides whether your air ever meets that fabric. For background, see EPA — Guide to Air Cleaners in the Home .
Air Always Takes The Easy Route
A blower does not politely push every cubic foot of air through the densest thing in its path. It moves the volume it is built to move, and that air travels wherever resistance is lowest. A pleated filter is deliberately restrictive, so a gap beside it becomes an inviting open door. Even a seam a few millimeters wide, running the length of a filter, adds up to a surprisingly large opening compared with the tiny pores of the media itself. Because unfiltered air moves faster through that gap, a leak can pull a disproportionate share of the total flow. This is why the guidance in HVAC filters and MERV for beginners about choosing a rating only pays off once the frame is sealed. A higher-resistance filter actually raises the pressure difference across the media, which increases the incentive for air to find and exploit any edge that is not tight.
Reading The Dust Trail
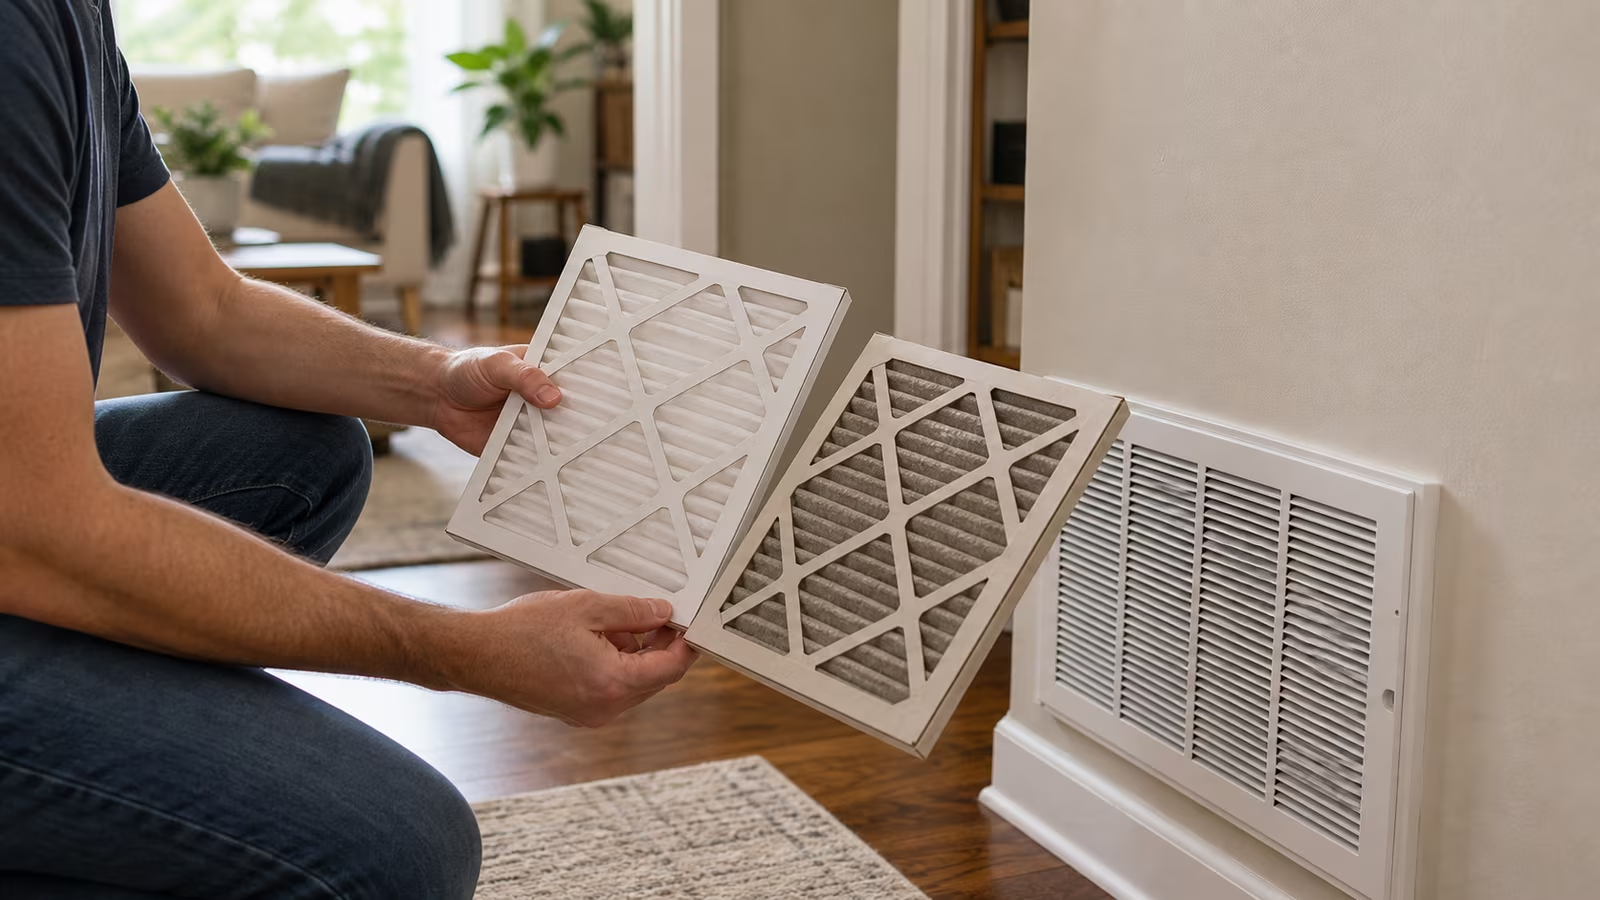
You can usually diagnose bypass without any instrument beyond your eyes. Pull the filter and look at both faces. The upstream side, facing the incoming air, should carry an even gray coating. The downstream side should be noticeably cleaner. Now look at the frame and the slot around where the filter sat. Dark smudges on the metal lip, a fan of gray dust streaking past a corner, or a clean filter edge sitting next to a dirty duct wall all tell the same story: air went around rather than through. Inside a portable purifier, the equivalent clue is dust collecting on internal surfaces that sit behind the filter, or a gray halo around a panel that should close flush. Grime that appears where filtered air should be arriving is the fingerprint of a leak.
The Quiet Sizing Trap
Filter dimensions are printed as a nominal size, and nominal is not the same as actual. A filter labeled twenty by twenty-five is manufactured a fraction smaller so it slides in without binding, but different makers shave that clearance differently. Swap brands and a filter that used to fit snugly can suddenly rattle, leaving a leak on two sides. Thickness matters just as much as height and width. A one-inch filter dropped into a slot built for a four-inch cartridge will sit loose and may get sucked flat against the grille when the blower starts. Measure the opening itself with a tape, not just the old filter, and record both the slot size and the exact filter that sealed well. A photograph of the installed filter in your maintenance notes prevents the slow drift where each replacement copies the last person’s mistake. When you want that record structured, the HVAC filter checker gives you a place to log the measured slot, the fitted size, and the date so the next purchase is not a guess.
What A Clean Seal Looks Like
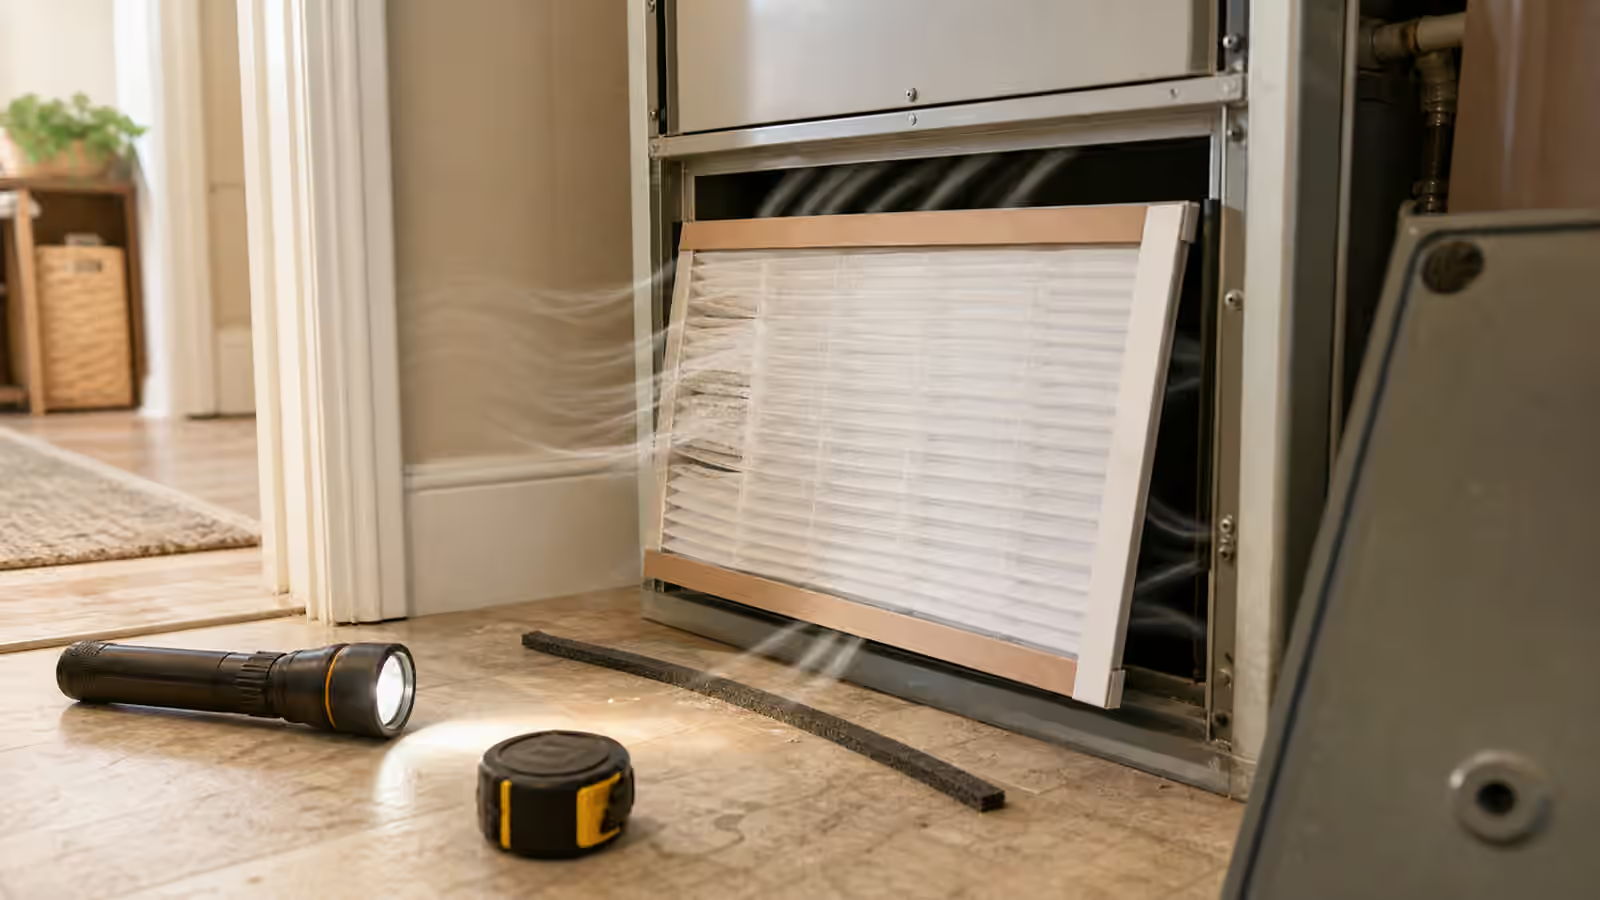
A well-fitted HVAC filter slides in with light, even pressure, fills its frame corner to corner, and sits flat without bowing. The access door or grille closes without forcing, holding the filter gently in place. If the system uses an airflow arrow, it points the way the air travels, into the equipment. You should not see a crescent of daylight along an edge, a crushed cardboard corner, or a filter that flutters when the fan kicks on, and you certainly should not need a wad of tape just to keep it from falling into the duct. Slots in older returns and utility-closet racks are often generous and imprecise, so a hairline of light is not automatically a crisis, but an obvious open channel deserves attention. Inspect with a flashlight after the fan has been off long enough to work safely, and if the rack itself is warped or oversized, a qualified HVAC technician can assess it during routine service.
Purifiers Leak Too, In Miniature
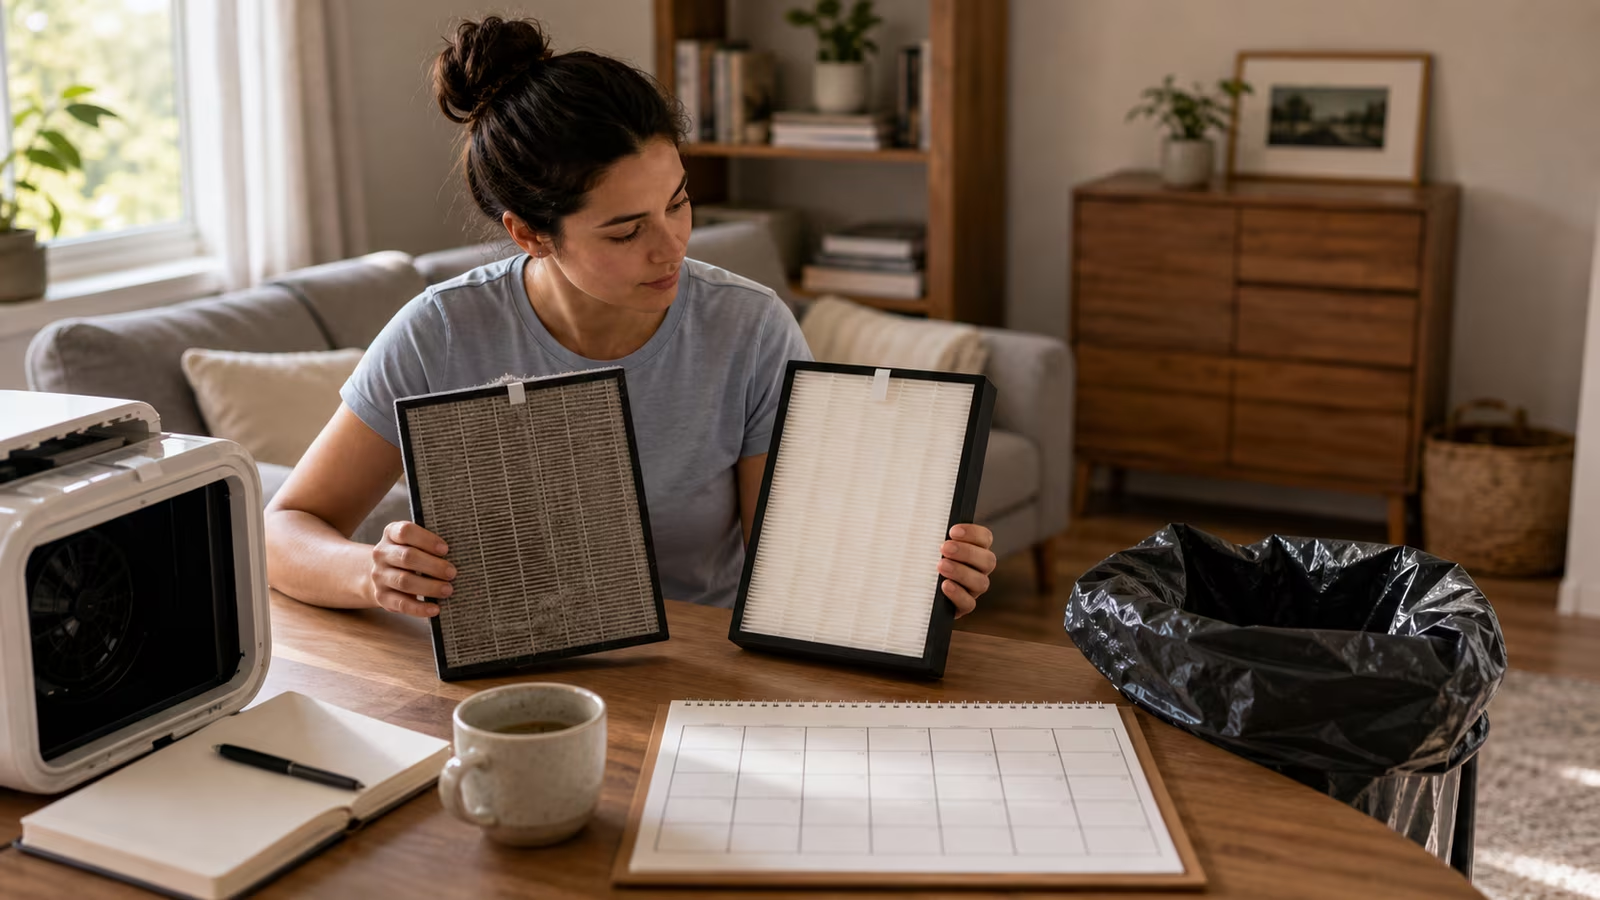
A portable air cleaner teaches the same lesson in a smaller box, and it fails more quietly because nothing about a running purifier announces a bad seal. The display still glows, the fan still hums, and the room still gets a little air movement even when the filter is seated crooked. After you vacuum a prefilter or drop in a fresh cartridge, it is easy to leave one corner proud of its channel or forget to peel the plastic wrap off a new filter, a mistake common enough to be worth naming out loud. Unplug the unit, reseat the filter slowly, and confirm that gaskets sit flush and panels latch fully. If you have fitted a third-party replacement, judge it by whether it seals like the original, not only by whether the outer dimensions match. A washable prefilter should be bone dry before it goes back, so trapped moisture is never pressed against the main media.
Fixing Leaks Without Making New Problems
Small, reversible improvements are fair game. A gasket strip along a loose rack lip, a better-fitting grille, or a foam edge designed for filter framing can each shrink an obvious gap, and a dated photo in your notes makes the good fit repeatable. What deserves caution is improvised tape. Tape that spans the filter face blocks airflow, tape that seals a service panel makes future maintenance harder, and tape near warm equipment can leave residue or trap moisture. Never tape over supply registers or return grilles to force air elsewhere, and never modify the compartment of a gas-burning appliance. If a filter has to be jammed in so tightly that the rack bows or the blower strains, the fit is wrong in the other direction, and the durable answer is usually a correctly sized filter or a proper housing rather than a new ritual of patching.
Fit Is Part Of The Whole Plan
Sealing a filter does not remove a source, dry a damp wall, or make outdoor smoke harmless, and it will not on its own settle allergy or asthma questions, which belong with a clinician. What a good seal does is make the filtration part of your plan honest, so that when you judge whether the filter, the fan runtime, or a source-control habit is helping, you are measuring something real. Fan runtime is the natural partner here: as the guide to HVAC fan on, auto, and circulate explains, a beautifully sealed filter that rarely sees airflow does little, while long runtime through a leaky filter wastes the opportunity. Make the fit check part of every swap you log on your filter replacement calendar : notice how the old filter sat, look for dust trails, confirm size and direction, and watch the new one stay flat when the blower starts.
This is practical education, not medical advice, and a snug filter is no guarantee that a room is safe. If you smell gas, suspect a backdrafting appliance, or find visible mold, water damage, or a carbon monoxide warning, set the filter project aside and bring in the appropriate alarm, test, or qualified professional first. The best clean-air work is rarely dramatic. It is the unglamorous alignment of a real source, a real air path, a real filter, and a frame with no gaps for the air to cheat through.