Tempering chocolate is the kind of skill that sounds like a personality trait. People talk about it as if it requires a specific gene: the “good-with-chocolate” gene.
The truth is less mystical. Tempering is not talent. It’s a controlled process.
I learned this on a winter evening when I decided—without fully understanding what I was volunteering for—that I would make chocolate bark as small gifts. The plan was wholesome. The kitchen was tidy. The music was calm.
Thirty minutes later I was staring at a bowl of glossy chocolate that looked perfect and behaved like a liar.
It set dull. It snapped weakly. The surface had a faint, cloudy look—like the chocolate had lost confidence.
That was my introduction to tempering: not as a technique, but as a lesson in structure.
This guide is the version of that night where you get the shiny, snappy finish on purpose.
What tempering really is (in plain language)
Chocolate isn’t just “solidified sweetness.” It’s a suspension of cocoa solids and sugar in cocoa butter.
Cocoa butter can crystallize in several forms. Only one of those forms gives you the classic tempered results:
- glossy surface
- clean snap
- smooth melt
- good contraction from molds
Tempering is the act of encouraging the right crystal structure to dominate.
That’s all.
Not magic. Not vibes.
Just controlled crystal management.
The setup that makes tempering feel calm
Most tempering failures happen before you start, because you’re under-equipped in small ways.
A calm setup looks like:
- a clean, dry bowl (moisture is the chaos ingredient)
- a spatula you trust
- a thermometer (yes, really)
- chopped chocolate pieces (so melting is even)
The quiet expert rule: avoid water at all costs. A single droplet can seize chocolate and turn the bowl into grainy paste.
If you want the technical explanation and rescue techniques, keep Melting and Seizing nearby.
The story moment: the bowl that looked right and acted wrong
On my first attempt, I melted chocolate gently and watched it become glossy and fluid. It looked like the photos.
I dipped a spoon, let it set, and congratulated myself.
Then the chocolate cooled into a dull, slightly streaky finish that felt soft at room temperature.
The problem wasn’t that I burned it. The problem was that I never tempered it. I melted it and hoped.
Hoping is not a tempering method.
A simple tempering path you can actually repeat
There are multiple methods, but the repeatable home approach is the one that feels like cooking, not like chemistry: melt, cool, and gently rewarm into the working range.
Conceptually, you’re doing three moves:
- Melt to erase existing crystal memory.
- Cool to form the good crystals.
- Warm slightly to get workable fluidity without destroying those crystals.
You don’t need to memorize numbers as a lifestyle. You just need to follow your thermometer with the same seriousness you’d follow a baking timer.
For a full step-by-step, use Tempering Chocolate.
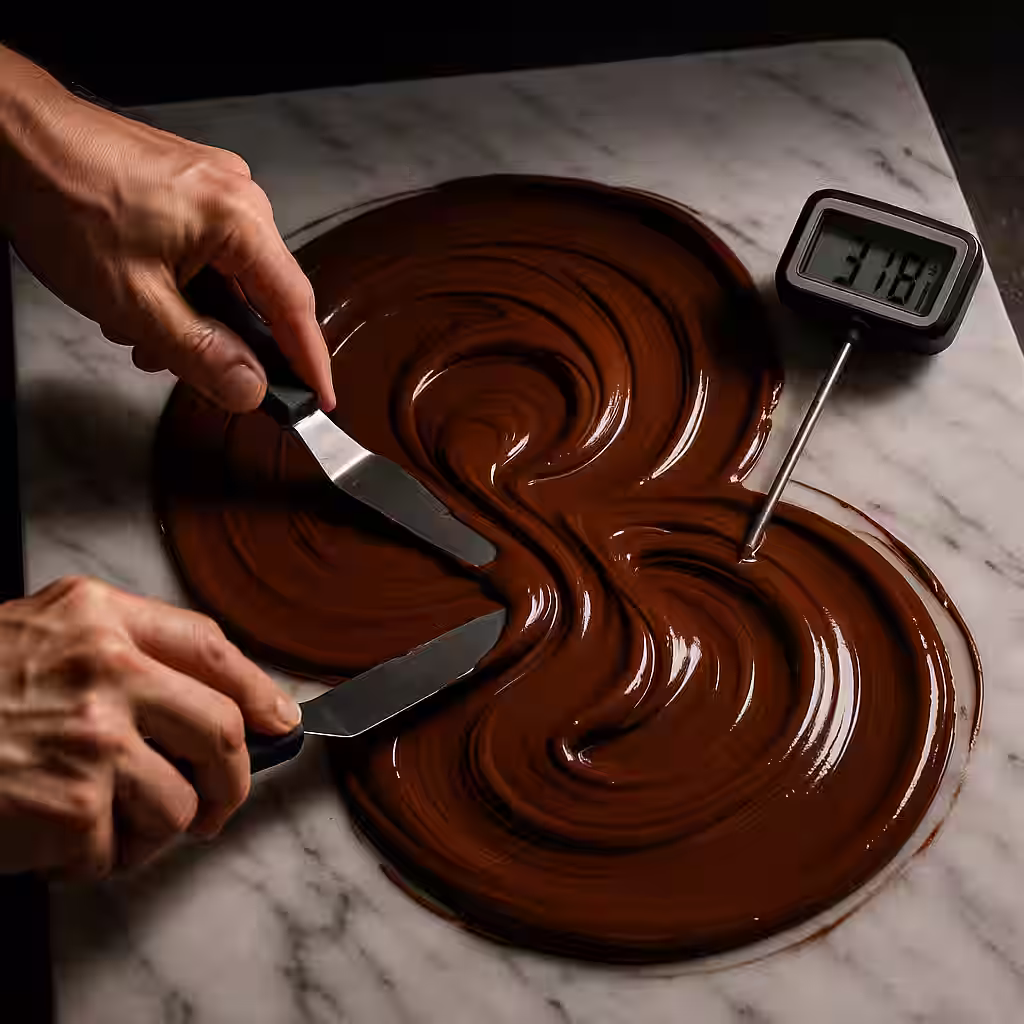
How to tell if you’re tempered (without guessing)
The temper test is your friend.
Spread a thin smear of chocolate on parchment or the edge of a bowl.
- If it sets quickly and becomes glossy and firm, you’re close.
- If it sets slowly, stays tacky, or looks dull, you’re not.
This test saved me from the second failure of that first tempering night: I caught the problem early and corrected instead of coating an entire tray in disappointment.
The most common failure modes (and what they feel like)
Tempering fails in recognizable ways.
- Too warm: chocolate stays fluid too long, sets soft, loses shine.
- Too cool: chocolate thickens, becomes hard to work, sets with uneven texture.
- Moisture contamination: chocolate seizes, becomes grainy and stiff.
The practical takeaway: tempering is not about never making mistakes. It’s about noticing early and correcting.
If you want the fix map, Tempering Troubleshooting is the companion.
The ending: when chocolate turns into a material
On the second attempt, with a thermometer and patience, I watched the chocolate change character.
It became not just melted candy, but a material with intention. It flowed cleanly, coated evenly, and set with a shine that looked like you could tap it.
And when it snapped, it snapped like a promise.
That’s what tempering gives you. Not perfection—control.
Once you have that control, chocolate work becomes playful again: bark, dipped fruit, molded pieces, thin shards for desserts. You stop relying on luck and start relying on process.
If you want the full technical backbone behind this story, read Tempering Chocolate, then keep Tempering Troubleshooting and Melting and Seizing nearby for the days chocolate tries to be dramatic.