Chocolate only looks fussy. Most melting problems come from water, usually as steam, condensation, or a wet tool. The next most common problem is heat that is too high.
This guide covers two things.
- How to melt chocolate smoothly.
- What to do when it seizes.
You do not need perfect technique. You need dry tools, gentle heat, and a simple rescue plan.
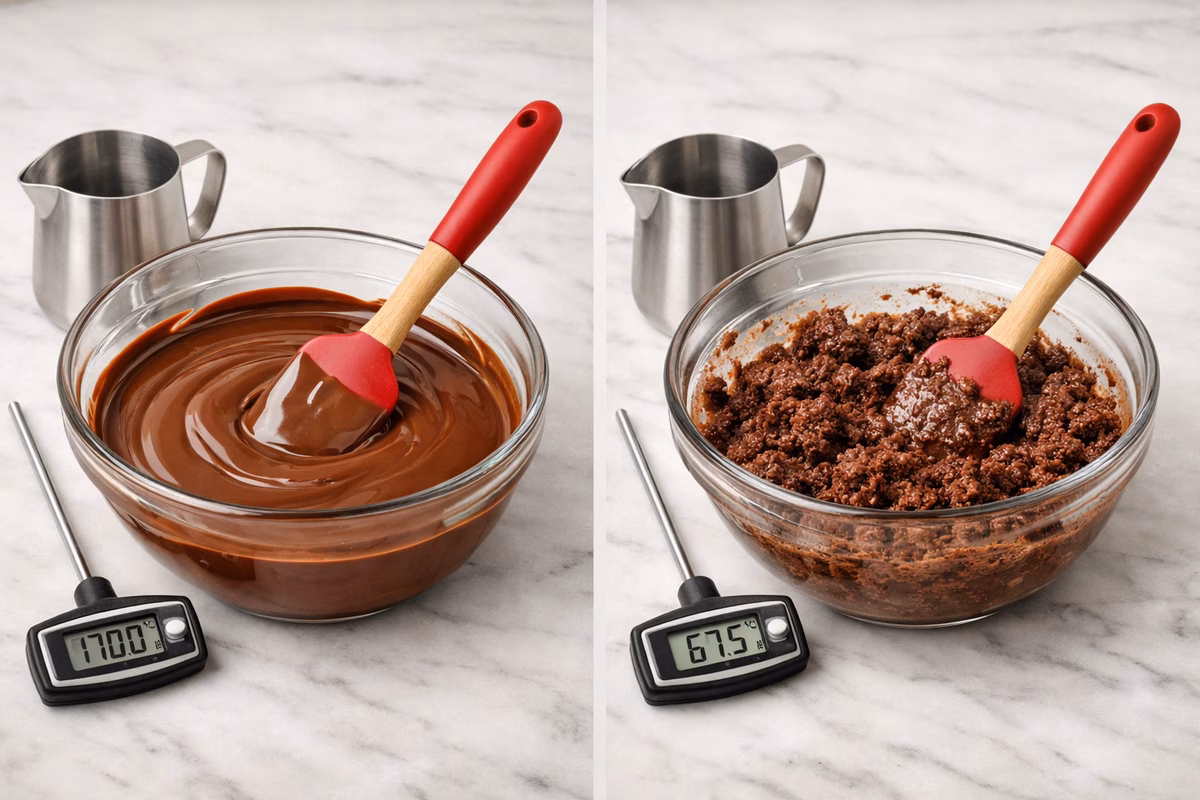
What “seizing” is (and why it happens)
Chocolate is tiny cocoa and sugar particles suspended in cocoa butter. When water hits melted chocolate, the sugar starts dissolving and the particles clump together. The mix turns thick and grainy. That is seizing.
Seized chocolate is not ruined. It just needs a different job.
Seizing vs. scorching (they look different)
People often mix these up:
- Seizing - thick, grainy, and sudden. Usually from moisture.
- Scorching - burnt smell and bitter flavor. Usually from too much heat.
Seized chocolate can become ganache or sauce. Scorched chocolate usually cannot.
Choose your chocolate (because melting behavior changes)
Not all chocolate behaves the same. Knowing what you are melting helps you pick the safest method.
Dark vs. milk vs. white
- Dark chocolate is usually the easiest.
- Milk chocolate melts faster and can feel thicker sooner.
- White chocolate is the most delicate and can scorch quickly.
Chips vs. couverture
Chocolate chips are made to hold shape. They often melt thicker than couverture, which is made for coating and flow.
For dipping or thin coatings, look for baking bars or couverture.
The golden rules of melting
Think of these as the basic rules for chocolate:
- Dry everything. Bowls, spatulas, whisks, lids, and spoons.
- Treat steam as water. If steam can reach the chocolate, water can reach it.
- Use gentle heat. Overheated chocolate tastes dull and can turn rough.
- Stir as you go. Stirring spreads heat and prevents hot spots.
- Stop early. Let residual heat finish the job.
If you do these five things, most chocolate work becomes wonderfully uneventful.
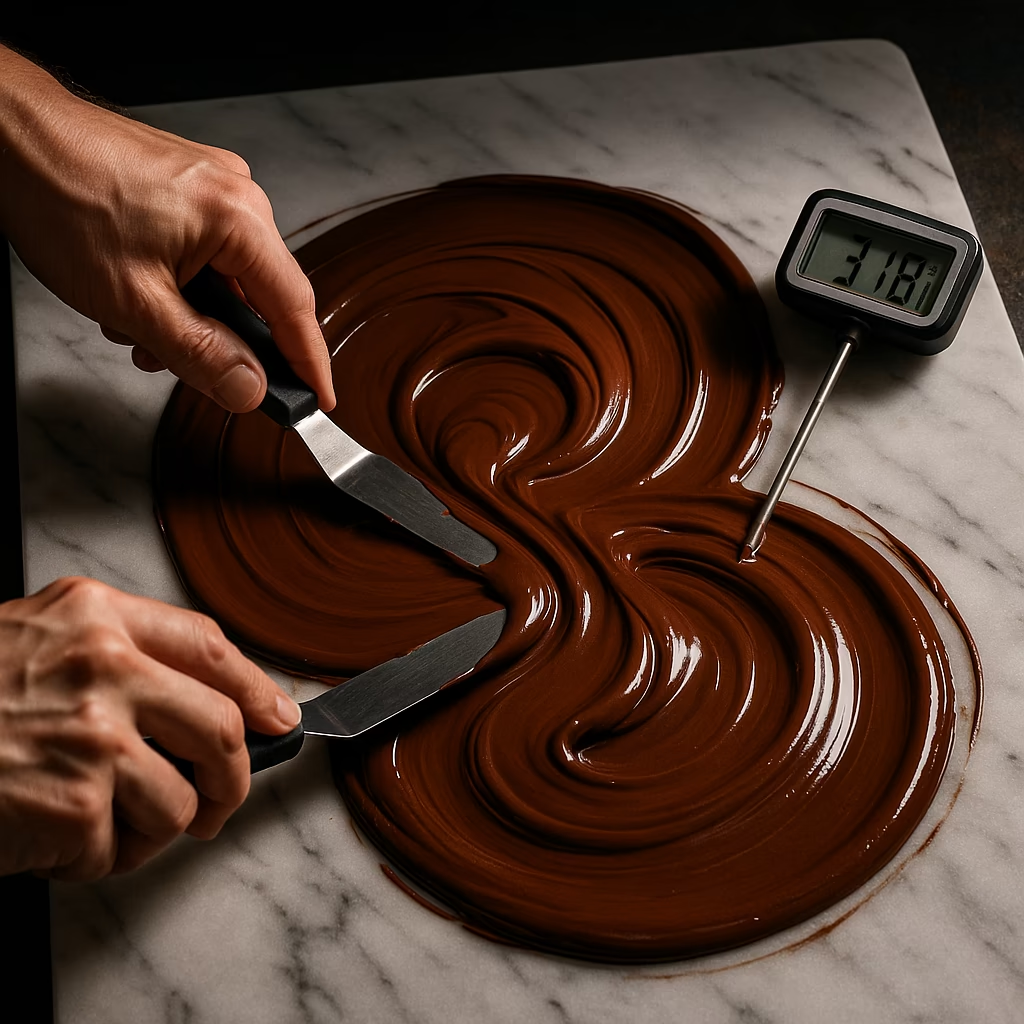
Target temperatures (helpful, not sacred)
You can melt without a thermometer, but it helps to know the range.
- Dark chocolate: melts comfortably in the mid-80s to low-90s °F.
- Milk chocolate: similar, but it softens quickly—use gentler bursts.
- White chocolate: treat it like a delicate sauce—lower heat, more stirring.
If the bowl feels hot to the touch, you are too warm. Chocolate likes warm, not hot.
Three melting methods you can trust
1) Microwave (most controlled at home)
Microwave melting works because stirring does most of the work. You use small heat bursts and let the chocolate finish itself.
How to do it:
- Chop chocolate evenly (or use small wafers).
- Use a dry microwave-safe bowl.
- Heat in short bursts: 15–20 seconds, then stir.
- Repeat until mostly melted.
- Stop when a few pieces remain and stir until smooth.
Why it works: chocolate keeps melting after the microwave stops, and stirring keeps it even.
Common mistake: leaving it in a little longer because there are still chunks. Those chunks are your safety buffer.
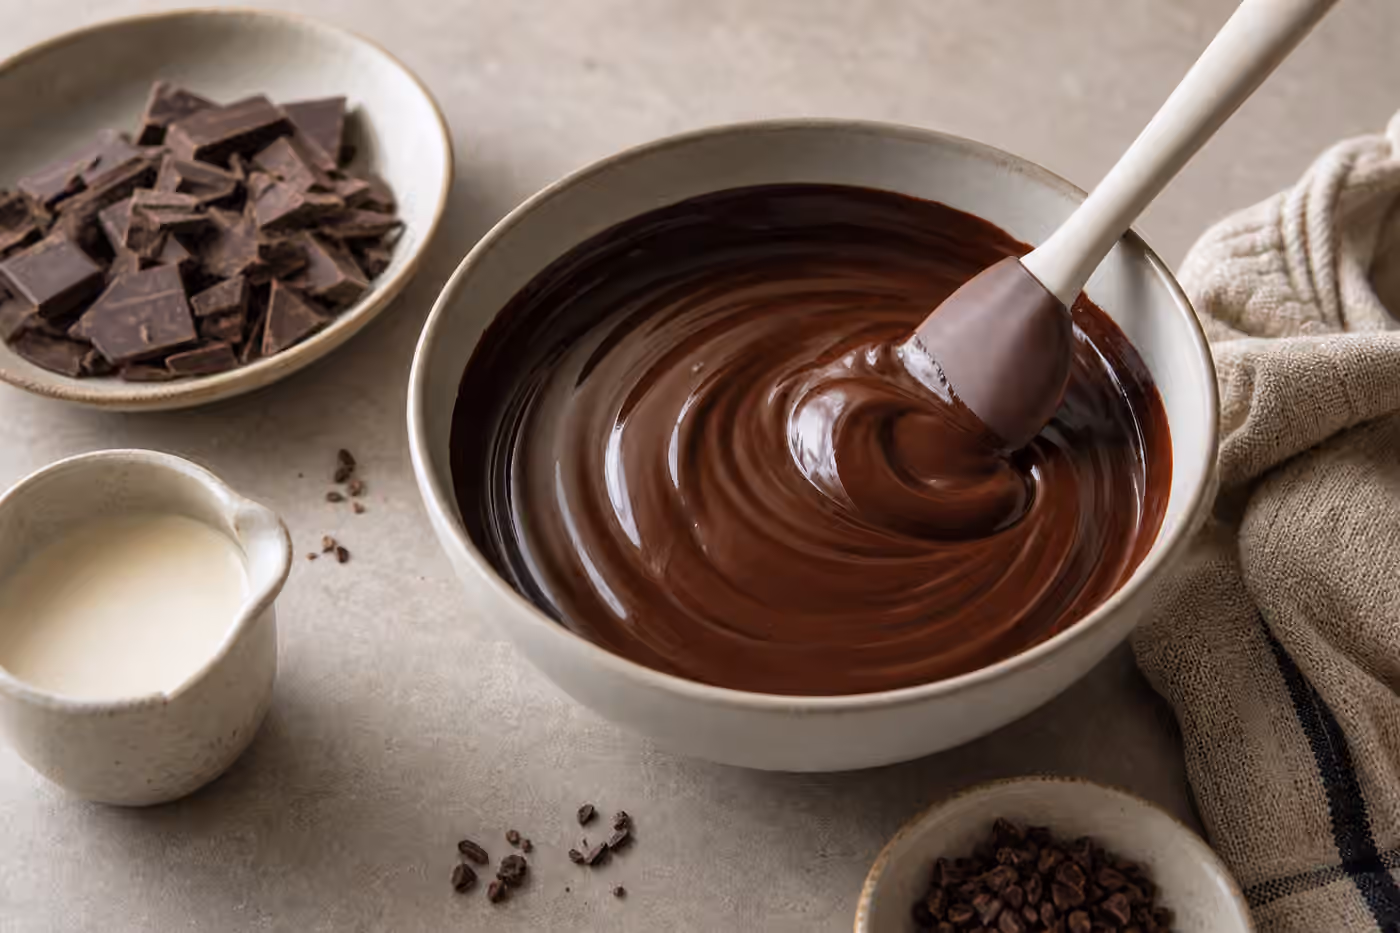
2) Bain-marie / double boiler (best for larger amounts)
Use a bowl that fits over a pot and keep the water at a bare simmer. The bowl should not touch the water.
Wipe the underside of the bowl before you set it down again. Condensation is how fine-looking chocolate turns grainy.
Keep the simmer gentle and the bowl dry.
3) Direct low heat (fast, higher risk)
Use this only if you are comfortable with your pan and heat source. Keep the heat low and stir constantly. Direct heat can scorch cocoa solids.
If you want a safer version, put the chocolate in a dry bowl over warm water instead.
How to prevent seizing in the real world
Seizing is not always a big splash of water. It is usually one of these:
- A lid that drips condensation.
- A spoon that was rinsed and not fully dried.
- Steam from a simmer that is too strong.
- A wet towel or counter.
- A small amount of water in a flavoring.
If you’re adding flavorings
Chocolate is happiest with fat-based additions:
- Nut butters
- Cocoa butter
- Oil-based flavors
Water-based additions can seize chocolate unless you are making sauce or ganache on purpose.
Common melting problems (and the fast fix)
Even when you avoid water, chocolate can still misbehave. These are the problems you will see most often.
“My chocolate is thick and won’t flow.”
This usually happens for one of three reasons:
- You are using chips. Chips are made to hold their shape and often melt thicker.
- You overheated slightly. Chocolate can thicken if it stays too warm for too long.
- You have a small amount of moisture. Even a little water can thicken it fast.
Fix: decide the job. If you need a thinner coating, use a more fluid chocolate next time. For this batch, you can thin it with a little cocoa butter or a small amount of neutral oil. Do not add water unless you want sauce.
“It looks smooth, but it tastes dull.”
Flavor dullness is often heat damage. Aroma fades when chocolate gets too warm.
Fix: use gentler heat and stop earlier. A microwave with frequent stirring often preserves aroma better than a long double boiler session.
“I got little lumps.”
Lumps can be unmelted bits or early seizing.
Fix: if they are still chocolate pieces, keep stirring off heat and let residual warmth finish the job. If the mixture gets thicker and grainy, switch to a ganache or sauce plan.
A tiny liquid guide (so you don’t accidentally seize a batch)
Chocolate is happiest with fat-based additions. Water-based additions are risky unless you are changing the goal.
Usually safe (fat-based): nut butters, cocoa butter, oils, fat-based flavor concentrates.
Risky (water-based): water-heavy extracts, fruit purées, fresh juice.
If you want to add a watery ingredient, plan to make ganache or sauce instead of a coating.
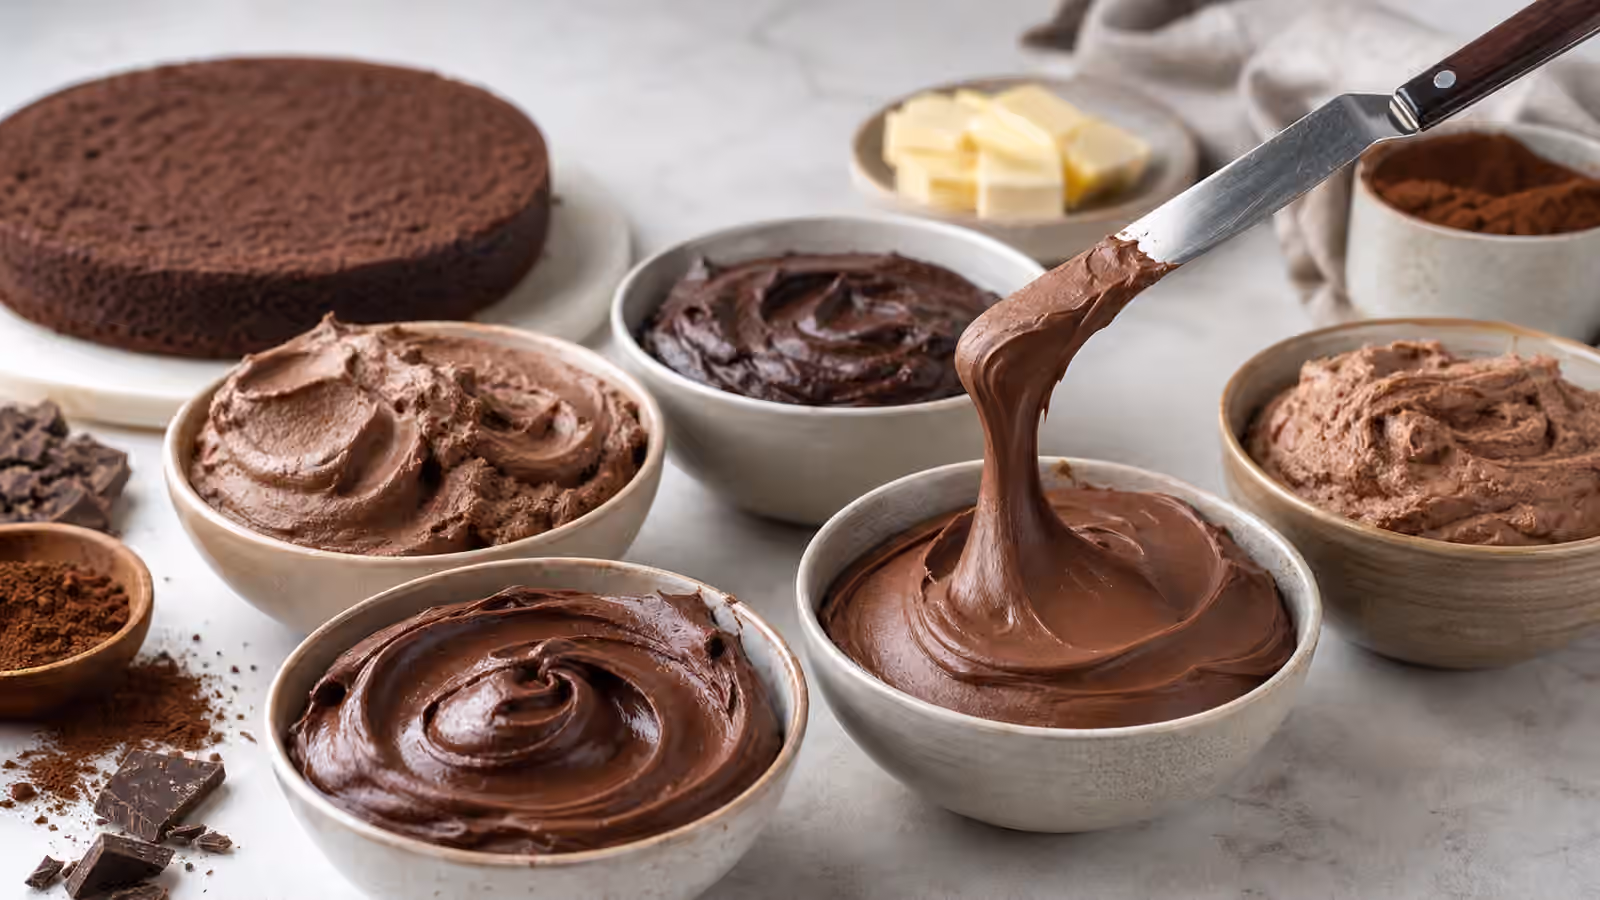
How to rescue seized chocolate (choose your goal)
The rescue depends on what you want to make.
Goal A: Make ganache (best rescue)
If chocolate seizes, the fastest save is ganache.
Method:
- Warm cream (or milk) until hot but not boiling.
- Add a small splash to the seized chocolate.
- Stir slowly and persistently.
- Keep adding warm liquid a little at a time until the paste relaxes into a glossy emulsion.
Once it comes together, it often works better than it did before.
Troubleshooting ganache texture
- Too thick: add a small splash more warm cream and stir.
- Oily/split: warm gently and whisk; a tiny bit more warm liquid can help it re-emulsify.
- Grainy: you may have sugar crystals from moisture + agitation; strain if needed, or repurpose for baking.
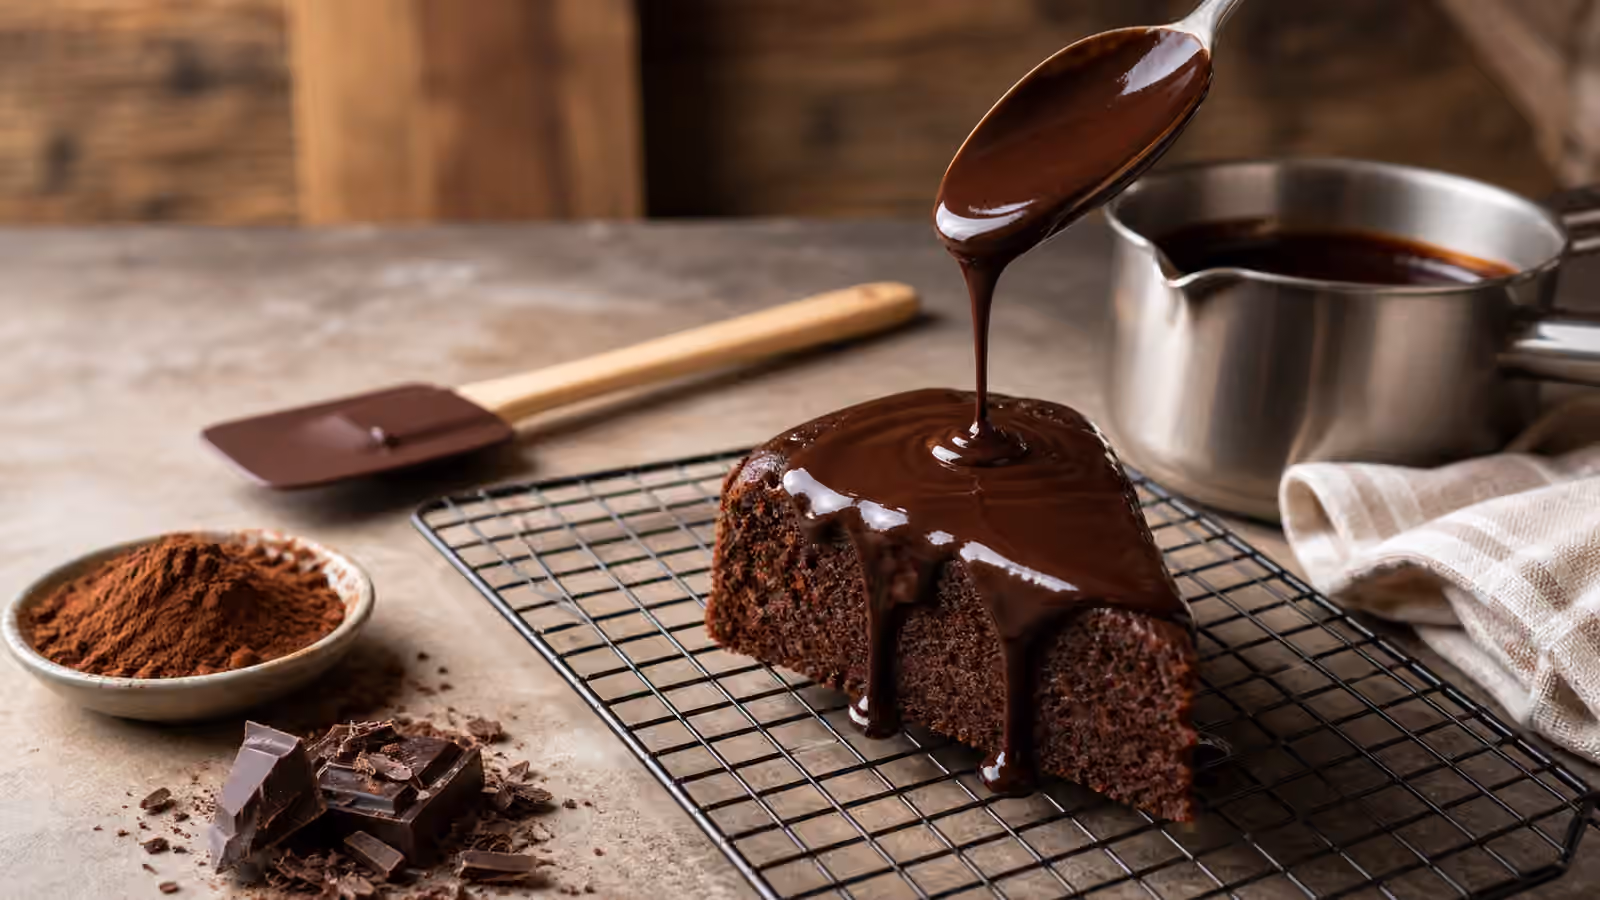
Goal B: Turn it into a chocolate sauce (water rescue)
This surprises people. If a few drops of water seize chocolate, more water can bring it back by turning it into sauce.
Add warm water a teaspoon at a time while stirring until it loosens into a smooth sauce. It will not work for dipping, but it can be good over ice cream, fruit, pancakes, or in hot chocolate.
Goal C: Use in baking
Seized chocolate works fine in brownies, cakes, and cookies. Melt it with butter or extra liquid from the recipe and it will smooth out during mixing.
For many batters, the exact texture does not matter much. You are using it for flavor and richness.
Goal D: Save it for drinking chocolate
Add hot milk a little at a time, whisking, and you will get a rich drinking chocolate. A pinch of salt helps the cocoa read clearer. A little cinnamon or espresso powder can deepen the flavor.
Goal E: Dipping and tempering (usually: start over)
If your goal is dipping or tempered bars, seized chocolate is usually not worth fighting. Tempering needs a clean fat phase and controlled crystals, and water makes that hard.
For tempering rescue strategies, see Tempering Troubleshooting .
Prevention checklist (stick this on your brain)
- Dry tools, dry bowl, dry counter.
- Keep the heat low. Steam is water.
- Microwave in short bursts and stir more than you heat.
- Finish with residual heat.
- Keep lids off or use a dry towel instead of a tight lid.
And if it does seize, treat it as a prompt to pivot rather than panic: ganache, sauce, baking, or drinking chocolate are all excellent landings.
Quick practice
Open the Fondsites game , then melt a small batch the microwave way. The goal is the same in both places: small corrections, stable rhythm, and patience.
If you want an easy confidence drill, intentionally “rescue” a tiny seized batch by adding warm milk to make a small cup of drinking chocolate. Once you’ve saved chocolate on purpose, it’s much harder to panic when it happens accidentally.
Return to the square in your hand
Chocolate learning becomes richer when it stays sensory. For Melting Chocolate Without Seizing (and How to Rescue It), the important move is to connect origin, roast, grind, sugar, fat, inclusion, storage, and serving temperature to the square in your hand. The label matters, but the melt tells the story.
Start by looking and smelling before tasting. Notice snap, shine, bloom, aroma, and how quickly the chocolate softens. Then let a small piece melt slowly. Fruit, nut, caramel, floral, earthy, dairy, spice, bitterness, and acidity can appear in layers.
Change one variable at a time. Taste a bar slightly warmer, compare two percentages from the same maker, or pair one square with coffee, tea, fruit, or bread. Small comparisons build memory better than big flights.
Storage deserves respect. Heat, odor, humidity, and time can flatten even excellent chocolate. A tidy storage habit protects the pleasure you paid for.
Melting Chocolate Without Seizing (and How to Rescue It) should make chocolate feel more alive and less like a label contest. The goal is attention, not snobbery.
Taste slowly enough to learn
After reading Melting Chocolate Without Seizing (and How to Rescue It), choose one piece of chocolate and let it warm slightly before tasting. Notice the snap, aroma, melt, sweetness, bitterness, acidity, and finish. Many differences that look dramatic on a label become clearer when the chocolate has time to melt instead of being chewed quickly.
Use comparisons sparingly. Two bars from different origins, two percentages from one maker, or one bar before and after better storage can teach more than a crowded tasting. Write one plain sentence for each.
If the chocolate disappoints, check storage before judging the style. Heat, age, odors, and bloom can flatten flavor. A better storage habit is often the cheapest upgrade.
The goal is not to become severe about pleasure. It is to make each square more vivid and each purchase more intentional.