I didn’t believe you could make cheese in a kitchen.
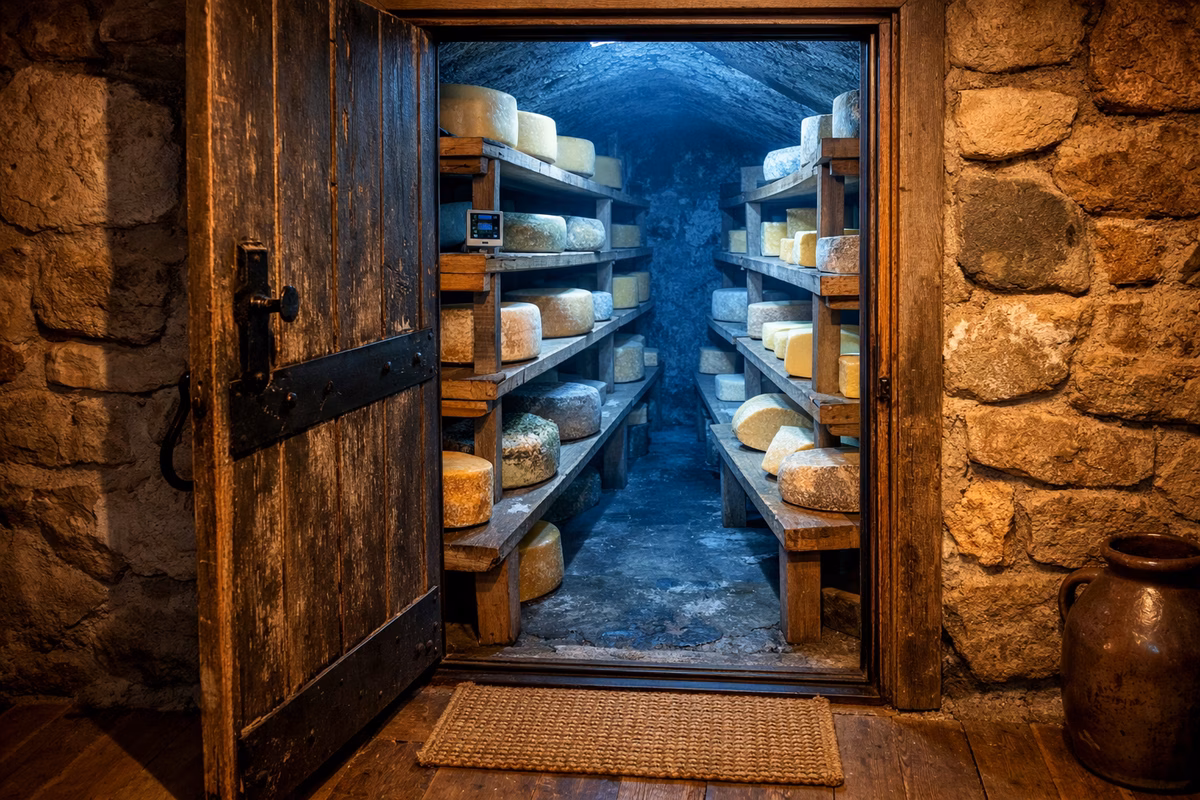
Cheese, to me, was a product—something that arrived wrapped in plastic or paper, made in facilities with stainless steel vats and aging caves and people who had studied dairy science for years. The idea of turning a gallon of milk into mozzarella on a Saturday afternoon felt like claiming you could forge a knife from a spoon.
Then a friend said, “It takes thirty minutes. Come over.”
She was wrong about the thirty minutes. It took closer to an hour, including the part where we stared at the pot waiting for curds to form and the part where I burned my fingers stretching hot cheese and said several things I won’t repeat here.
But when we sliced open the finished ball and it was white, glossy, and still warm—when I tasted it and it tasted like milk transformed—I understood something I hadn’t understood from any cheese guide or tasting note:
Cheese is just milk that someone decided to pay attention to.
This is the story of that afternoon, and a practical guide to repeating it in your own kitchen.
Why mozzarella is the right first cheese
If you’ve never made cheese, mozzarella is the place to start—not because it’s the simplest (ricotta is simpler), but because it teaches you the most.
Mozzarella takes you through every fundamental cheesemaking step in a single session:
- Acidification: lowering milk’s pH to prepare for coagulation
- Coagulation: adding rennet to form the curd
- Cutting the curd: breaking the solid mass into pieces
- Heating: expelling whey and developing texture
- Stretching: aligning the protein strands into the smooth, elastic structure that makes mozzarella mozzarella
Other fresh cheeses skip steps. Ricotta uses only heat and acid—no rennet, no stretching. Paneer coagulates and drains. Mozzarella walks you through the full arc, and that arc becomes the foundation for understanding every other cheese.
What you need (and what you don’t)
The ingredient list for mozzarella is disarmingly short:
- 1 gallon of whole milk (not ultra-pasteurized—this is critical)
- 1½ teaspoons of citric acid dissolved in ½ cup cool water
- ¼ teaspoon of liquid rennet dissolved in ¼ cup cool water
- 1 teaspoon of salt (cheese salt or kosher, no iodine)
That’s it. Four ingredients. The milk does most of the work; you just guide it.
The milk matters
Ultra-pasteurized (UP or UHT) milk will not work. The high-temperature processing damages the casein proteins so thoroughly that they can’t form a proper curd. You’ll get ricotta-like crumbles instead of a cohesive mass that stretches.
Look for “pasteurized” (not “ultra-pasteurized”) on the label. The best results come from full-fat, non-homogenized milk, but standard whole milk from the dairy case works well.
If the milk doesn’t say “ultra-pasteurized” anywhere, you’re likely fine.
Equipment
- A large stainless-steel pot (no aluminum—it reacts with acid)
- A thermometer (instant-read or clip-on)
- A long knife or offset spatula for cutting curds
- A slotted spoon
- A microwave-safe bowl (or a pot of hot water for the traditional method)
- Rubber gloves (optional but wise for the stretching step)
You don’t need a cheese press, cheese molds, aging mats, or any specialized equipment. You need a pot, a thermometer, and your hands.
The process: from milk to mozzarella
Step 1: Acidify the milk
Pour the gallon of milk into the pot. Add the citric acid solution and stir gently. The citric acid lowers the milk’s pH, preparing the casein proteins to coagulate when rennet is added.
Heat the milk slowly over medium heat to 90°F (32°C), stirring occasionally. The milk may start to look slightly curdled or grainy—that’s normal.
Step 2: Add rennet
At 90°F, remove the pot from heat. Add the rennet solution and stir gently in an up-and-down motion for 30 seconds. Stop stirring. Cover the pot and wait.
This is the patience step.
For the next five minutes, the rennet is working invisibly. It’s an enzyme that cleaves a specific bond in the casein protein, causing the proteins to link together into a gel—the curd.
When I did this the first time, I peeked at three minutes. The surface of the milk had set into something that looked like soft tofu—a smooth, white, quivering mass. It wobbled when I nudged the pot.
That wobble is the sign. If the curd breaks cleanly when you press it with a finger (a “clean break”), it’s ready to cut.
Step 3: Cut the curd
Using a long knife, cut the curd in a grid pattern—half-inch squares if you can manage it, though precision isn’t critical for mozzarella. Cut in one direction, then perpendicular. If you can, make angled cuts to create roughly uniform cubes.
The curds will begin to separate from the whey immediately. The whey is the clear, yellowish liquid that surrounds the white curds.
Step 4: Heat and stir
Return the pot to the stove. Heat the curds slowly to 105°F (40°C), stirring gently. The curds will shrink and firm as they expel whey. Stir slowly—aggressive stirring will break the curds into pieces too small to stretch.
This step took us about five minutes, and it’s where the kitchen started to smell like warm milk and something faintly sweet.
Step 5: Drain
Use the slotted spoon to transfer the curds into a microwave-safe bowl, leaving the whey behind. Press the curds gently to expel excess whey.
(Save the whey. It’s useful for bread-making, soup stock, or watering plants. Throwing away whey feels like throwing away flavor.)
Step 6: Stretch
This is the step where mozzarella becomes mozzarella.
Microwave method: Heat the curds in the microwave for one minute. Drain any expelled whey. Sprinkle with salt. Fold and press the curds with a spoon or your hands. The mass should start to become glossy and pliable.
Microwave for another 30 seconds. Now begin stretching: pull the cheese like taffy, fold it back on itself, pull again. The goal is to develop a smooth, shiny surface with an elastic, stretchy texture.
If the cheese tears instead of stretches, it’s not hot enough. Microwave for 15 more seconds and try again.
If the cheese is rubbery and won’t stretch at all, the milk may have been ultra-pasteurized, or the pH wasn’t acidic enough. (This happened to my friend once. We made a serviceable ricotta from the failure and tried again the next week.)
Traditional method: Instead of a microwave, submerge the curds in 170°F (77°C) water for five minutes, then stretch. The result is the same; the process is slightly more traditional and slightly more painful on the hands.
This is the step where rubber gloves earn their keep. The cheese needs to be hot to stretch, and “hot enough to stretch” is also “hot enough to make you regret not wearing gloves.”
Step 7: Shape
Once the cheese is smooth, glossy, and elastic, form it into a ball by tucking the edges underneath. You can shape one large ball, several small ones (bocconcini), or pull it into a log.
Place the finished mozzarella in a bowl of lightly salted cool water or ice water for five minutes to set the shape.
The moment it worked
The first ball came out of the water and sat on the cutting board like something from a cookbook photo. White, smooth, slightly wet, gently steaming.
My friend sliced it in half. The interior was layered—you could see the stretched protein strands, like the grain in fresh bread. A little whey pooled on the cutting board.
We ate it plain, still warm. It tasted like fresh milk with a clean, lactic tang and a soft, giving texture that bore no resemblance to the rubbery supermarket mozzarella I’d been buying for years.
Then we sliced a tomato, tore some basil from the plant on the windowsill, drizzled olive oil and salt, and made the simplest caprese salad imaginable.
It was the best caprese I’d ever had. Not because we were expert cheesemakers. Because the mozzarella was twenty minutes old and still warm and made with our hands from a gallon of milk.
That’s the hook of home cheesemaking: the immediacy. You go from milk to cheese in an hour, and the cheese is better than anything you can buy—not because you’re more skilled than a professional, but because fresh mozzarella is best within hours of being made, and no store can sell you that.
Troubleshooting the common failures
| Problem | Likely cause | Fix |
|---|---|---|
| Curds won’t form | Ultra-pasteurized milk | Switch to regular pasteurized whole milk |
| Curds are mushy | Temperature too low or rennet too weak | Ensure 90°F when adding rennet; check rennet freshness |
| Cheese won’t stretch | Not hot enough, or pH is wrong | Reheat curds; add a splash more citric acid next time |
| Cheese is rubbery | Over-worked or over-heated | Stretch fewer times; aim for just glossy and smooth |
| Cheese is grainy | Milk was ultra-pasteurized or overheated | Use correct milk; heat gently, don’t boil |
| Bland flavor | Not enough salt or milk was low-fat | Salt during stretching; use whole milk |
What making cheese teaches you about eating cheese
After that afternoon, every cheese I tasted was different. Not better or worse—just more legible.
I could taste the acid in a young chèvre and understand that someone had guided that tang into being. I could feel the stretch in a provolone and know that hands had pulled and folded it while it was still hot. I could notice the texture of an aged cheddar and imagine the months it spent slowly losing moisture and developing sharpness.
Making one cheese—even a simple one—teaches you to read all cheese. You start to sense the decisions behind the texture, the fermentation behind the flavor, the time behind the rind.
That’s the real reason to make mozzarella at home. Not because it’s cheaper than buying it (it’s roughly the same). Not because it’s hard (it’s not). But because the hour you spend turning milk into cheese gives you a framework for understanding every cheese you’ll ever taste.
Next steps
- Read Cheese Types: A Comprehensive Guide to understand where mozzarella fits in the broader cheese world
- See The Art of Cheese Aging to learn what happens when fresh cheese is given time
- Explore How to Store Cheese for keeping your homemade mozzarella fresh
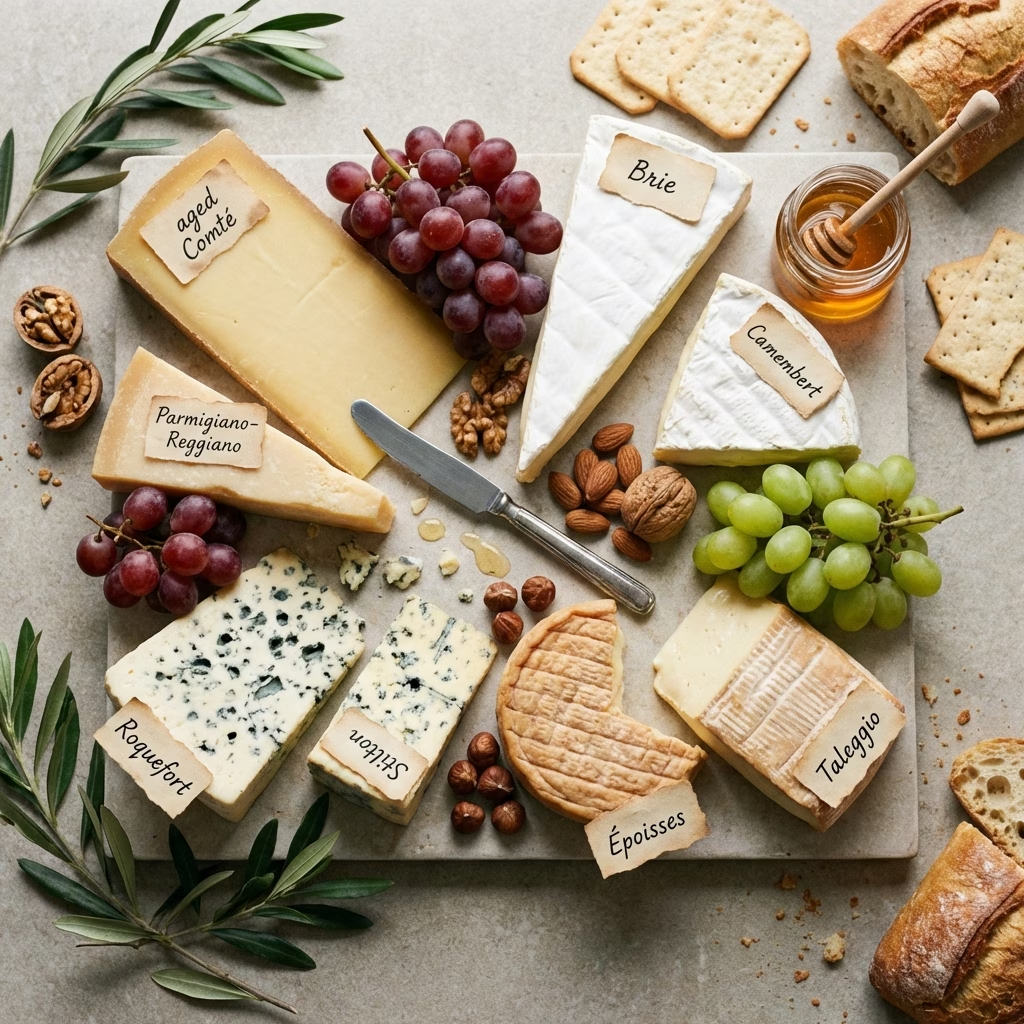
- Try Your First Cheese Board to see how fresh mozzarella shines alongside aged cheeses
- Read Cooking with Cheese for what to do with mozzarella beyond caprese