Cheese is one of the most satisfying ingredients in the kitchen—until it turns on you. And oh, it will turn on you if you don’t understand what’s going on beneath that gorgeous golden surface.
We’ve all been there. You’re making a cheese sauce and it splits into a sad puddle of oil floating on top of rubbery clumps. Or you pull a pizza out of the oven and the cheese has gone from bubbly and inviting to a greasy, rubbery sheet that slides right off the crust. Maybe you tried adding a handful of cheddar to a soup and watched it transform into a grainy, gritty mess that no amount of stirring could fix. Or perhaps you attempted a beautiful melted cheese moment and ended up with something that stretched into stringy glue and cemented itself to your spoon like industrial adhesive.
Here’s the good news: none of those outcomes are random. Cheese has structure—proteins, fat, water, acidity, and salt—and heat rearranges all of it. Once you understand the basic mechanics, cooking with cheese goes from a nerve-wracking gamble to a confident, repeatable process.
That’s exactly what this guide is here to give you. Think of it as a practical mental model for your kitchen. By the time you’re done reading, you’ll understand why cheese melts the way it does (and why it sometimes refuses to cooperate), how to make silky smooth cheese sauces without breaking a sweat, which cheeses are your best friends for grilling, baking, and melting, and how to rescue a broken sauce when things go sideways.
What cheese is (and why heat changes it)
Before we get into the hands-on stuff, let’s take a quick peek under the hood. Understanding what cheese actually is makes everything else click into place.
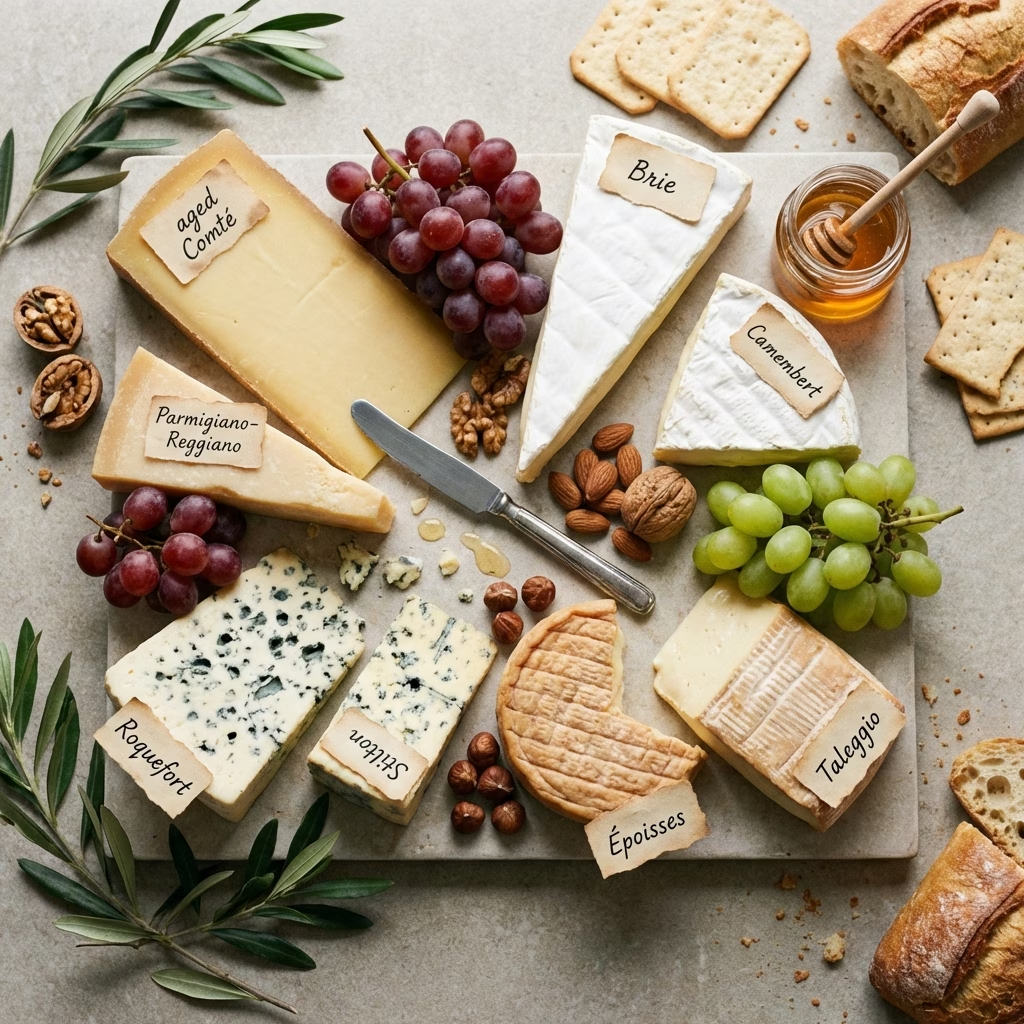
At its core, cheese is a fascinating little engineering marvel made up of a few key components. You’ve got milk proteins—specifically casein—that form a tangled network, kind of like a microscopic web. Trapped inside that web is fat, which gives cheese its richness and luxurious mouthfeel. There’s also water, and this is where things get interesting: young, fresh cheeses have a lot more water than aged ones, which is why a slice of young Gouda behaves completely differently from a chunk of two-year-old Parmigiano. Finally, you’ve got salt and acidity working behind the scenes, influencing flavor and texture in ways you might not expect.
So what happens when you apply heat? The protein network starts to soften and relax, and the fat trapped inside melts into liquid. When everything stays in balance—the right amount of heat, enough moisture, proteins behaving themselves—the cheese becomes stretchy, smooth, and absolutely gorgeous. It’s that moment when you pull apart a grilled cheese and get those perfect, Instagram-worthy cheese pulls.
But when things go wrong, they go wrong fast. If the protein network tightens up too aggressively, it squeezes out the fat like wringing a sponge, and you get that greasy mess nobody wants. If there isn’t enough water in the cheese (or you’ve cooked the moisture out), everything turns rubbery and stubborn. Crank the heat too high, and the proteins seize up into grainy, clumpy chaos. And if you throw too much acid or salt into the mix at the wrong moment, the proteins will clump together and curdle before you can say “fondue.” Understanding these failure modes is honestly half the battle. Once you know why cheese misbehaves, preventing it becomes almost intuitive.
The four behaviors that matter for cooking
When you’re standing in front of the stove with a block of cheese in your hand, there are really only four properties you need to think about. Master these, and you’ll be able to predict how almost any cheese will behave when it hits heat.
1) Moisture level
This is the big one. Young cheeses—think fresh mozzarella, young Gouda, Havarti—are packed with water, and all that moisture means they melt readily and generously. They’re forgiving, easygoing, the kind of cheeses that want to cooperate with you. Aged cheeses, on the other hand, have had months or even years for that moisture to slowly evaporate. They’re drier, more concentrated in flavor, and significantly more temperamental when heated. An aged Parmigiano can go from “beautifully nutty” to “grainy disaster” in seconds if you’re not careful. The rule of thumb is simple: the younger and wetter the cheese, the easier it melts.
2) Fat level
Fat is your friend when cooking with cheese. It’s what makes sauces feel silky on your tongue and gives melted cheese that rich, indulgent quality. Higher-fat cheeses tend to produce smoother results because there’s more lubricant keeping everything flowing. But here’s the catch—fat can and will separate from the cheese if the proteins seize up from too much heat. When that happens, you get a pool of orange grease sitting on top of a tight, rubbery mass. Not exactly the vibe you were going for. The key is keeping everything in harmony so the fat stays emulsified within the protein network rather than breaking free.
3) Acidity
Acid is a double-edged sword in cheese cookery. In certain contexts—like a classic fondue where wine provides just the right amount of acidity—it actually helps keep the cheese smooth and flowing. The acid loosens the protein bonds just enough to prevent them from seizing into a tight clump. But too much acid combined with high heat? That’s a fast track to curdling city. It’s all about balance and timing: a little acid at the right moment is a secret weapon, but too much at the wrong moment is a recipe for disaster.
4) Emulsification
Here’s a word that sounds intimidating but is really just a fancy way of saying “fat and water playing nicely together.” An emulsion is a stable mixture of fat and water—two things that normally want nothing to do with each other. Cheese sauces are essentially emulsions. When that emulsion is stable, your sauce is smooth, glossy, and pourable. When it breaks, you get a depressing separation: oil floating on top, sad protein clumps lurking below. Everything we’ll talk about from here on out—the techniques, the cheese choices, the troubleshooting—is ultimately about creating and maintaining a good emulsion.
The golden rules for melting cheese
Alright, enough theory. Let’s talk about what to actually do when you’re standing at the stove. These are the non-negotiable rules that will save you from cheese disasters ninety-nine times out of a hundred.
Rule 1: Low and slow heat
If you take only one thing from this entire guide, let it be this: high heat is the fastest way to broken cheese. Seriously, write it on a sticky note and put it on your stove. When you’re melting cheese, you want to work over low heat—and I mean genuinely low, not “medium that you’re calling low because you’re impatient.” Even better, for sauces, remove the pot from the heat entirely before adding your cheese. Let the residual heat in the liquid do the heavy lifting. The cheese will melt gently and evenly, and the proteins will stay relaxed and happy instead of seizing up into a clumpy mess. Patience is quite literally the most important ingredient here.
Rule 2: Grate or shred for even melting
This one seems obvious once you think about it, but it makes a massive difference. Big chunks of cheese melt unevenly—the outside overheats and starts to break down while the inside is still sitting there, cold and unmelted. By the time the center finally softens, the exterior has already gone past the point of no return. Grating or finely shredding your cheese creates tons of surface area, which means everything melts at roughly the same rate. It’s a small step that pays enormous dividends. Your future self will thank you for the thirty seconds of grating.
Rule 3: Add cheese gradually
Here’s a mistake I see all the time: someone makes a beautiful béchamel, then dumps an entire mountain of shredded cheese into the pot all at once. The temperature plummets, the cheese shocks the system, and chaos ensues. Instead, add your cheese in small handfuls, stirring each addition until it’s fully melted and incorporated before adding the next. This gives the sauce time to absorb each batch smoothly, maintaining the emulsion throughout. Think of it like building something layer by layer instead of trying to assemble the whole thing in one go.
Rule 4: Choose melting-friendly cheeses
Not all cheeses were created equal when it comes to melting. Some are practically born to melt—they flow, they stretch, they do everything you want. Others are designed to hold their shape, crumble, or brown without flowing. Choosing the right cheese for the job is half the battle, and mixing a great melter with a great flavor cheese is often the smartest move you can make.
The melting-friendly cheese roster
Let’s talk about which cheeses belong in your cooking arsenal and what roles they play best. Think of this like assembling a team—you want different players with different strengths.
Excellent melters (great in sandwiches and sauces)
These are your workhorses, the reliable all-stars that will give you smooth, stretchy, beautiful results almost every time. Gruyère and other Alpine-style cheeses are absolute legends in the melting department—there’s a reason the Swiss built an entire culinary tradition around melted cheese. Fontina is another stunner, bringing a buttery richness that melts like a dream. Young Gouda, before it’s had time to dry out and develop those crunchy crystals, is wonderfully cooperative on heat. Havarti is creamy and mild, melting into velvety pools without any fuss. Monterey Jack is the unsung hero of American cheese cookery, reliably smooth and a fantastic team player. And of course, low-moisture mozzarella is the undisputed champion of pizza, providing that perfect stretch and browning without dumping water all over your crust.
Great flavor boosters (use with a melter)
Now, these cheeses are where the flavor lives, but they need a little backup in the melting department. Aged cheddar brings that sharp, tangy punch that makes a cheese sauce taste like something worth talking about. Parmigiano-Reggiano adds a deep, savory, umami-rich complexity that elevates everything it touches. Pecorino brings a salty, sheepy bite that can transform a simple dish. Smoked cheeses add an entirely different dimension of flavor. These are all amazing, but they’re more likely to go grainy or clumpy if you use them as the sole cheese in a sauce. The smart play is to pair them with one of the excellent melters from the list above. Let the melter handle the texture while the flavor booster handles the taste. It’s a partnership that works beautifully every time.
Cheeses that resist melting
And then there are the rebels—cheeses that have absolutely no interest in melting the way mozzarella does, and that’s perfectly fine because that’s not their job. Fresh goat cheese will soften beautifully and become creamy, but it’s never going to give you that stretchy pull. Feta softens and can get wonderfully creamy when incorporated into a sauce, but it melts on its own terms, not yours. Halloumi is basically engineered to not melt—it’s designed to be grilled or fried and hold its shape, which is exactly what makes it so magical on a hot grill. Very aged, very dry cheeses have lost so much moisture that they tend to clump rather than flow. None of this means you should never cook with these cheeses. It just means you should use them for the behavior they want to give you. Grill that halloumi. Crumble that feta over a hot dish. Dollop that goat cheese onto a flatbread. Work with them, not against them.
How to make a smooth cheese sauce (three reliable methods)
There are many roads to cheese sauce nirvana, but these three methods are the most repeatable, forgiving, and reliable. Pick the one that fits your situation and you’ll be golden—pun absolutely intended.
Method 1: Roux + milk (classic béchamel-based)
This is the classic, the OG, the method your grandmother probably used even if she didn’t know the French terminology. It’s the backbone of traditional mac and cheese, and for good reason—it works beautifully.
Why it works: The flour in the roux thickens the liquid and acts as a stabilizer for the emulsion. Those starch molecules get between the fat and protein, essentially playing peacekeeper and preventing the sauce from breaking. It’s elegant food science disguised as simple home cooking.
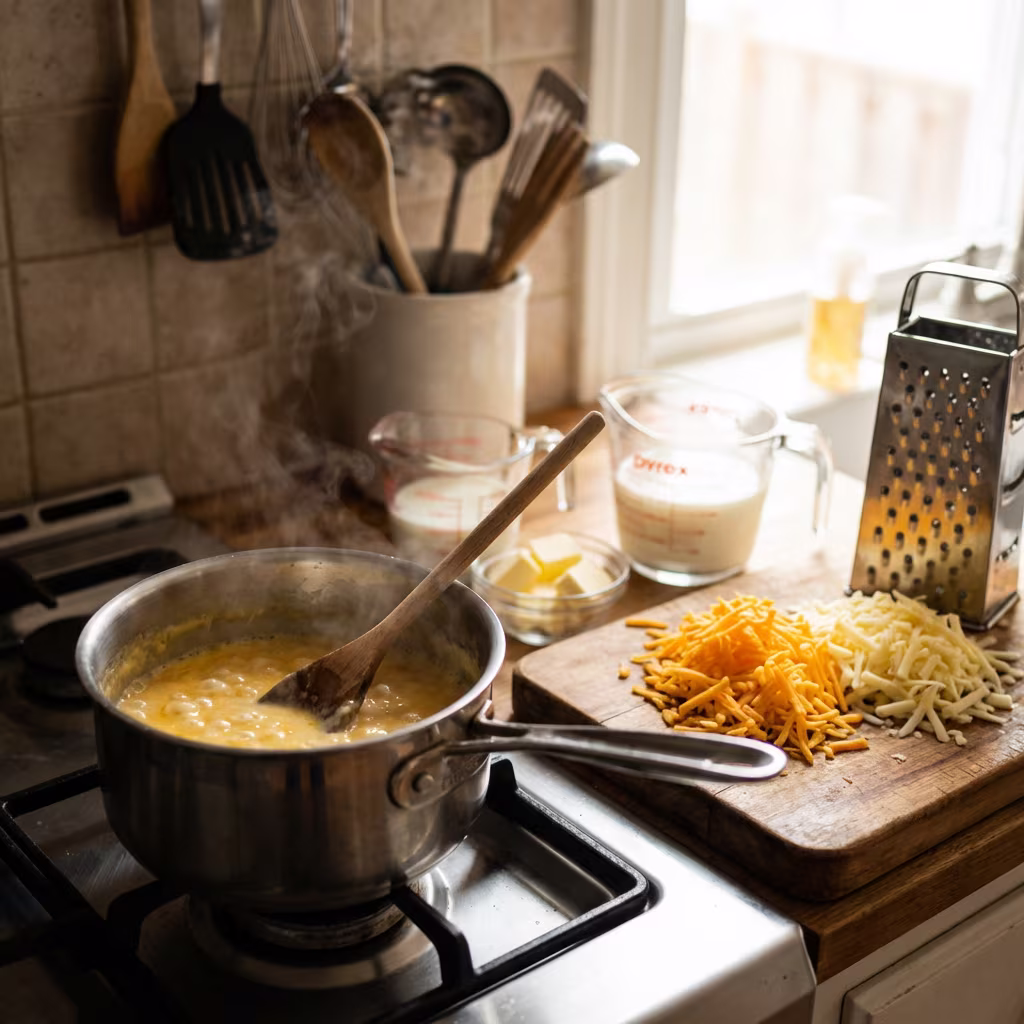
The basic flow goes like this: start by making a roux, which is just butter and flour cooked together until they’re bubbly and fragrant. Then whisk in your milk gradually—and I mean gradually, adding it in splashes and whisking constantly to avoid lumps. Once all the milk is in, let the sauce simmer until it thickens to the consistency of heavy cream. This is your béchamel, and it’s about to become something extraordinary. Now here’s the crucial moment: remove the pot from the heat, then start adding your grated cheese in small handfuls, stirring each addition until it’s fully melted before adding more.
The best cheeses for this method include cheddar (especially medium cheddar, which has a great balance of flavor and meltability), Gruyère for that nutty depth, Fontina for buttery smoothness, and Jack for reliable, easygoing melting.
The most common mistake people make with this method is boiling the sauce after the cheese goes in. Once cheese is in the pot, keep the heat low—or better yet, off entirely. The residual heat from the béchamel is usually more than enough to melt the cheese. Boiling at this stage will cause the proteins to seize and the whole beautiful sauce to break.
Method 2: Evaporated milk (shockingly reliable)
If you haven’t tried this method yet, prepare to have your mind blown. Evaporated milk is one of the most underrated secret weapons in cheese cookery. It’s essentially concentrated milk that’s had about sixty percent of its water removed, and this concentration gives it a particular protein balance that’s almost supernaturally good at emulsifying cheese.
Why it works: The concentrated proteins in evaporated milk create a more stable emulsion than regular milk. It’s genuinely harder to break, which means it’s more forgiving of the small mistakes that trip people up—a little too much heat, cheese added a bit too fast, that kind of thing.
The process couldn’t be simpler: warm your evaporated milk gently over low heat (don’t let it boil), then start adding your grated cheese gradually, stirring until smooth after each addition. If the sauce ends up thicker than you want, just thin it out with a splash of water or regular milk until you hit your desired consistency. That’s it. Seriously, that’s the whole method.
This approach is absolutely perfect for quick queso-style sauces when you want something delicious on the table in minutes. The best cheeses for this method are Monterey Jack for smooth melting, cheddar for flavor, and yes, even a small amount of American cheese. I know, I know—American cheese gets a bad rap. But in small quantities, it’s essentially a pre-made emulsification agent, and it can add a wonderful creaminess to the sauce. No shame in the game.
Method 3: Sodium citrate (the “restaurant smooth” secret)
Ever wondered how some restaurants manage to create cheese sauces so impossibly smooth and glossy that they look almost fake? There’s a very good chance sodium citrate is involved. This is an emulsifying salt—a simple, food-safe powder that you can buy online for a few dollars—and it fundamentally changes the cheese sauce game.
Why it works: Sodium citrate essentially acts as a mediator between the proteins and the fat in cheese. It helps the casein proteins stay dispersed and relaxed instead of clumping together, which means the sauce stays smooth no matter what cheese you throw at it. You can turn almost any cheese into a perfectly stable, pourable, glossy sauce. Aged cheddar? Smooth. Parmigiano? Smooth. That weird artisanal cheese you impulse-bought at the farmer’s market? Believe it or not, smooth.
The process is straightforward: dissolve a small amount of sodium citrate in your liquid (water, milk, or beer all work), warm it gently, then blend in your grated cheese until smooth. If you want a sauce that stays silky even when reheated—something that’s notoriously difficult with traditional methods—this is hands-down the most powerful tool in your arsenal.
Applications: what to use for common dishes
Now let’s get into the fun part—specific dishes and exactly how to nail them. Because knowing the theory is great, but knowing what cheese to put on your pizza is what really matters on a Tuesday night.
Grilled cheese
Ah, the grilled cheese sandwich. Deceptively simple, endlessly debatable, and absolutely glorious when done right. A perfect grilled cheese needs three things working in harmony: a fast melt so the cheese is fully flowing by the time the bread is golden, enough stretch to give you that satisfying pull when you tear it apart, and enough flavor to make the whole thing worth the calories.
The secret is blending cheeses. A combination of cheddar and Jack gives you the best of both worlds—sharp flavor from the cheddar and reliable, gooey melting from the Jack. Gruyère paired with young Gouda is a more sophisticated take that’s absolutely divine. And mozzarella with provolone gives you maximum stretch with a mellow, approachable flavor. Whatever you do, avoid using very aged cheddar as your only cheese—it can break and go oily under the heat—and skip parmesan as a standalone because it simply won’t melt the way a grilled cheese demands.
One more tip that makes all the difference: cook your grilled cheese over low heat. I know it’s tempting to crank the burner and speed things up, but low heat gives you a beautifully crisp, evenly golden exterior while giving the cheese enough time to fully melt all the way through. High heat gets you a burnt outside and cold, unmelted cheese in the middle. Trust the process.
Pizza
Pizza cheese is its own fascinating universe, and the requirements are specific: you need something that melts evenly across the surface, browns beautifully in a hot oven without burning, and doesn’t release so much fat that your pizza turns into an oil slick.
The gold standard is low-moisture mozzarella, and it’s the standard for good reason. It melts evenly, browns gorgeously, and has just the right moisture content to avoid making your crust soggy. For extra flavor dimension, consider adding provolone for additional stretch and a slight tang, a shower of grated Parmesan for a salty, savory top-note that crisps up beautifully, or Fontina for an extra layer of buttery richness.
Now, about fresh mozzarella—it can be absolutely transcendent on pizza, but it comes with a caveat. Fresh mozzarella is loaded with water, and all that moisture gets released onto your pizza in the oven, potentially turning your beautiful pie into a soggy mess. If you want to use it, take some precautions: slice it and let it drain on paper towels for a while before topping your pizza, use less than you think you need (it spreads as it melts), and consider combining it with low-moisture mozzarella so you get the best of both worlds—the creamy fresh taste with the structural reliability of the low-moisture version.
Mac and cheese
Mac and cheese is comfort food royalty, and the sauce needs to do one very specific thing: stay smooth and creamy while coating every single nook and cranny of your pasta. There’s nothing sadder than mac and cheese with a broken, gritty sauce, so let’s make sure that never happens to you again.
The winning strategy is a cheese trio. Start with one excellent melter—Fontina, Jack, or young Gouda—to form the smooth, creamy backbone of your sauce. Layer in one big flavor cheese—medium or sharp cheddar is the classic choice—to give the sauce that unmistakable cheesy punch. And optionally, add a small amount of Parmigiano-Reggiano as a booster, bringing depth and complexity that makes people say “what’s in this?” with their eyes wide. Use whichever sauce method appeals to you (the roux-based béchamel is the traditional choice), and above all else, avoid high heat after adding your cheese. Low and slow is the mantra. Your pasta will thank you.
Fondue
Fondue is essentially a chemistry experiment disguised as a dinner party, and honestly, that’s part of what makes it so fun. There’s something deeply satisfying about understanding why fondue works and then nailing it perfectly while your friends dip bread and pretend they’re in a Swiss chalet.
The classic approach relies on a trio of elements working together: Alpine-style cheeses like Gruyère or Comté-style varieties that melt beautifully and bring nutty, complex flavor; a splash of wine that provides just enough acidity to loosen the protein bonds and keep everything smooth; and a dusting of starch (usually cornstarch tossed with the grated cheese) that acts as a stabilizer to prevent the emulsion from breaking. The wine’s acid and the starch work together like a tag team, keeping the melted cheese in that perfect, dippable, flowing state.
The most common fondue mistake is overheating. Once your fondue is smooth and flowing, keep it at a gentle, low heat—just enough to stay warm and liquid, not so much that the proteins start to tighten and the whole thing turns into a seized-up blob. A good fondue pot with a gentle flame is your best friend here.
Queso / cheese dips
Cheese dips have a unique challenge that sets them apart from other cheese dishes: they need to stay smooth not just during cooking, but while sitting out on a table for an extended period, slowly cooling down while people periodically dunk chips into them. That’s a tall order for something as temperament-prone as melted cheese.
This is where the evaporated milk method and the sodium citrate method really shine. Both produce sauces with exceptional staying power that resist breaking even as they cool and get reheated by the occasional chip-dipping. Another surprisingly effective trick is to include a small amount of processed cheese—like American cheese or Velveeta—in your blend. Processed cheese is essentially pre-emulsified, so it acts as a stabilizer for the whole sauce. You’re not making the dip out of processed cheese; you’re using it as a tool to keep everything else smooth. It’s a technique, not a compromise.
Why cheese sauces break (and how to fix them)
Even with the best intentions and techniques, sometimes things go sideways. It happens to everyone. The important thing is knowing what went wrong and how to fix it—or at least attempt a rescue mission before dumping everything down the drain.
Cause 1: Too much heat
This is the number one culprit, the villain in most cheese sauce horror stories. High heat causes the proteins to tighten aggressively, squeezing out the fat and leaving you with a greasy, clumpy mess. If this happens, don’t panic. Immediately remove the pot from the heat, add a splash of warm liquid (milk or water), and whisk vigorously. You’re trying to re-emulsify the fat back into the sauce. Sometimes it works beautifully and the sauce comes back together like nothing happened. Sometimes the damage is too far gone. But it’s always worth trying before you give up.
Cause 2: Not enough moisture
When dry cheese meets high heat without enough liquid to keep things flowing, the proteins form tight, rubbery clumps that are about as appetizing as a pencil eraser. If you find yourself staring at a pot of rubber blobs, add warm milk or water gradually while stirring constantly. If the clumps are really stubborn, hit the whole thing with an immersion blender—sometimes brute force is the only way to bring a sauce back from the brink.
Cause 3: Too much acid
Acid can tip the protein balance past the point of no return, causing full-on curdling. If you’ve added too much wine, lemon juice, or another acidic ingredient and the sauce is starting to look grainy or separated, try to balance things out by adding more dairy and reducing the heat to the gentlest possible level. Going forward, avoid adding acidic ingredients directly to hot cheese without some kind of buffer—always mix the acid into your liquid base first, then add the cheese.
Cause 4: Very aged cheese as the base
Aged cheeses have so much flavor that it’s tempting to build an entire sauce around them. But because they’re dry and their proteins are tightly packed, they’re prone to going grainy when they’re the star of the show. If your sauce is grainy because you went all-in on aged cheddar or Parmigiano, the fix is to add a younger, higher-moisture melting cheese to the mix. The younger cheese will provide the smooth, emulsified base that the aged cheese can’t deliver on its own, and you’ll still get all that incredible aged flavor.
Reheating cheese dishes without ruining them
Here’s a scenario that plays out in kitchens every day: you made an incredible cheese sauce or mac and cheese last night, you stored the leftovers, and now you’re reheating it only to watch it break into a greasy, separated shadow of its former self. Cheese sauces are notoriously fragile when reheated, but there are ways to minimize the damage.
The key is gentleness. Reheat over low stove heat or use low microwave power in short intervals. Stir frequently to redistribute the heat evenly and give the emulsion its best chance of holding together. Adding a splash of milk or water before reheating can help loosen things up and provide extra moisture for the proteins to work with. If you used sodium citrate or a roux-stabilized base when making the original sauce, you’ll find reheating is significantly easier—those stabilizers continue to do their job even the second time around, which is yet another reason to use them in the first place.
Choosing cheese at the store for cooking
Next time you’re standing in the cheese aisle trying to decide what to buy for dinner, shift your mindset. When you’re buying cheese for cooking, you’re not just buying “cheese”—you’re buying behavior. You’re buying a set of physical properties that will determine whether your dish succeeds or fails.
Ask yourself three questions. Do I need stretch? Then reach for mozzarella or provolone—they’re the stretch champions. Do I need a smooth, pourable sauce? Then grab Fontina, Jack, or Gruyère and pair them with a good technique. Do I need sharp, punchy flavor? Then pick up some aged cheddar or Parmigiano-Reggiano, but use them as accents alongside a reliable melter, not as the foundation of your sauce.
One more thing worth mentioning: if you’re buying pre-shredded cheese, be aware that it’s coated with anti-caking agents (usually cellulose or potato starch) to keep the shreds from clumping in the bag. Those agents can affect melting texture, sometimes making sauces slightly less smooth or giving them a subtle graininess. For the absolute smoothest, most flawless sauces, buying blocks of cheese and grating them fresh is almost always the better move. It takes an extra minute or two, but the difference in your finished sauce is genuinely noticeable.
The takeaway
If cooking with cheese has ever felt random or unpredictable—like sometimes it works and sometimes it just doesn’t, with no rhyme or reason—I hope this guide has changed that for you. Because it’s not random at all. Cheese follows rules, and once you know the rules, you can work with them every single time.
It really comes down to four moves. First, always use gentle heat—low and slow is the cheese cook’s mantra, and it will save you from more disasters than any other single piece of advice. Second, grate your cheese and add it gradually, giving each handful time to melt and incorporate before adding the next. Third, include at least one reliable melting cheese in your blend, even if your favorite flavor cheese is an aged cheddar or a crumbly Parmigiano. And fourth, when making sauces, use a stabilizing method—whether that’s a classic roux-based béchamel, the surprisingly effective evaporated milk trick, or the restaurant-secret sodium citrate approach.
Do those four things consistently, and you’ll get what you were always promised: glossy, stretchy, deeply satisfying cheese that behaves exactly the way you want it to. No more greasy puddles, no more grainy grit, no more rubber clumps. Just pure, melty, beautiful cheese magic. And honestly? That’s a pretty great place to be.