Most cheese boards are built to look generous. A learning board has a different job. It should still feel inviting, but its real purpose is to make the cheeses explain themselves. By the end of the board, you should understand why a young fresh cheese feels milky and direct, why an aged firm cheese tastes deeper than it smells, why bloomy rinds can seem mushroomy or buttery, and why blue cheese needs a little sweetness nearby to show its best side.
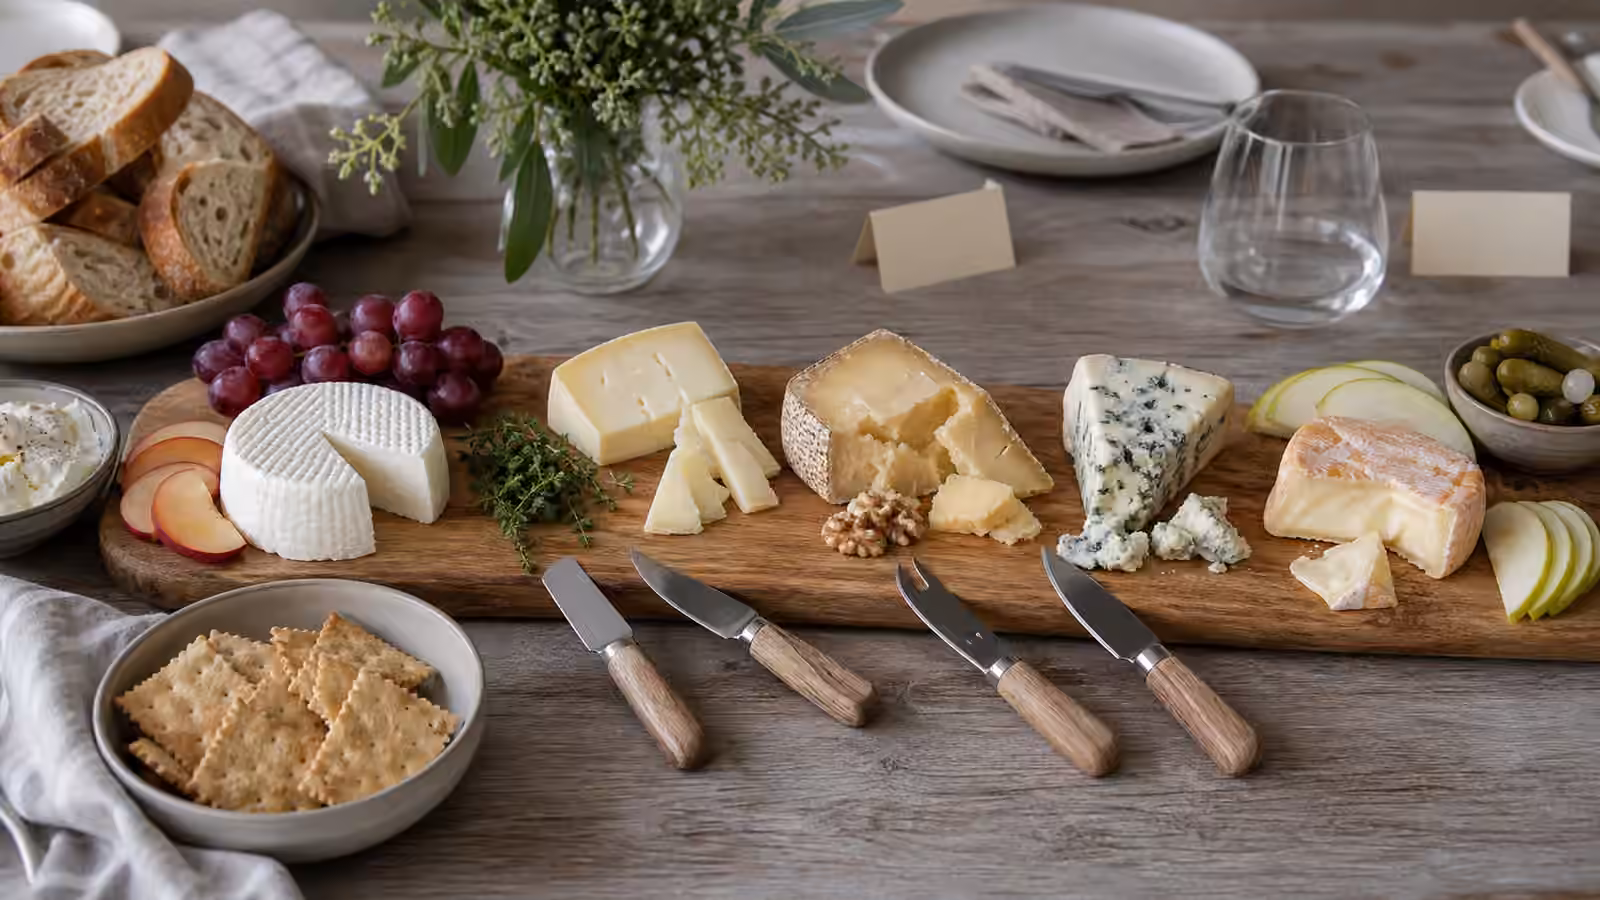
The mistake many beginners make is trying to cover the whole cheese counter at once. They buy six or seven wedges, add three kinds of jam, pile on charcuterie, and then wonder why every bite tastes like a crowded party. That can be fun, but it does not teach much. A board that teaches flavor is smaller and calmer. Four cheeses are usually enough. Three can work. Five is the upper edge before attention starts leaking away.
Choose contrast before abundance
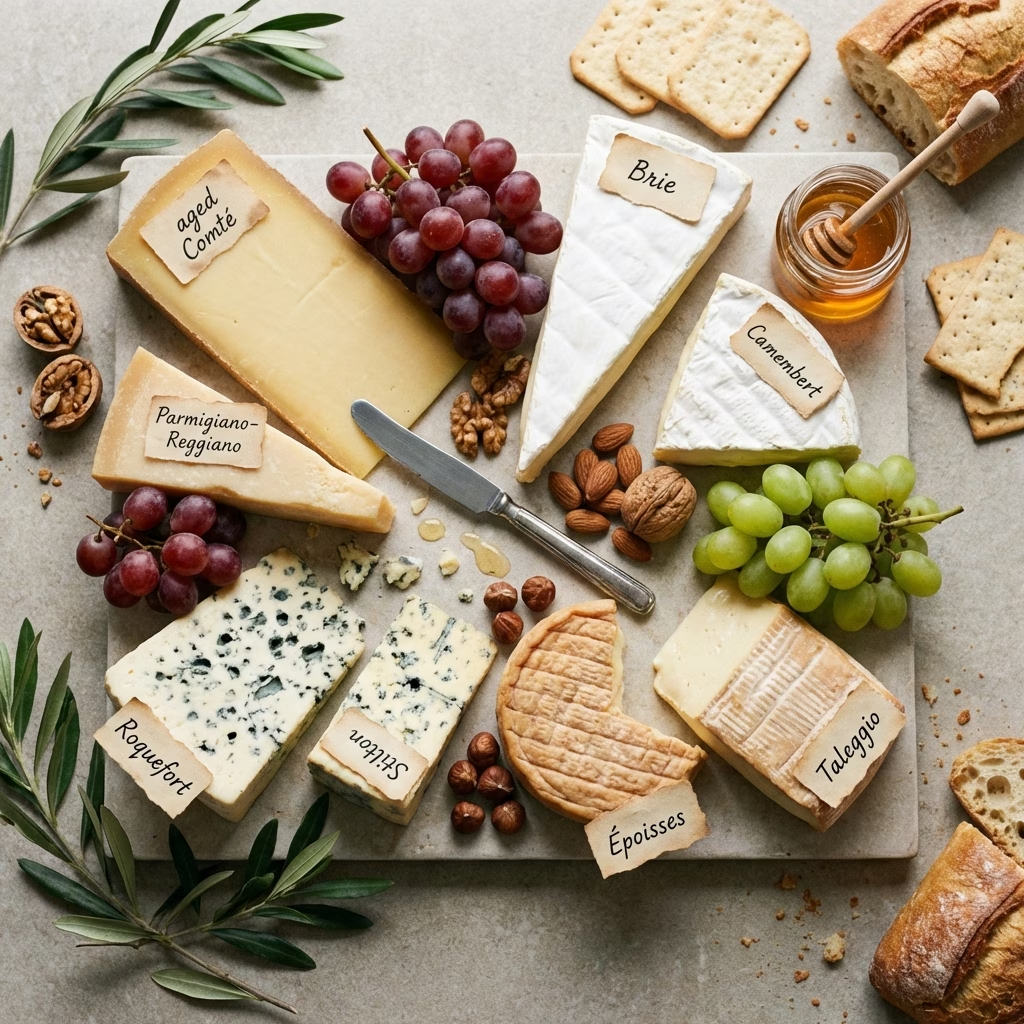
A useful board needs contrast you can feel. One soft and mild cheese gives the palate a gentle landing. One firm or aged cheese brings salt, nuttiness, or caramel depth. One washed-rind or bloomy-rind cheese introduces aroma and rind behavior. One blue cheese, goat cheese, or sheep milk cheese gives the board a clear accent. These are not rules of prestige. They are teaching positions.
Think of the board as a quiet conversation. If every cheese is a creamy triple-cream, the board may be delicious, but it will not show much range. If every cheese is sharp and salty, fatigue arrives early. If every cheese is rare and assertive, the beginner at the table may start smiling politely instead of tasting. Good contrast lets each cheese define the next one. The fresh cheese makes the aged cheese taste more concentrated. The aged cheese makes the bloomy cheese feel more aromatic. The blue cheese makes the pear and honey suddenly seem necessary rather than decorative.
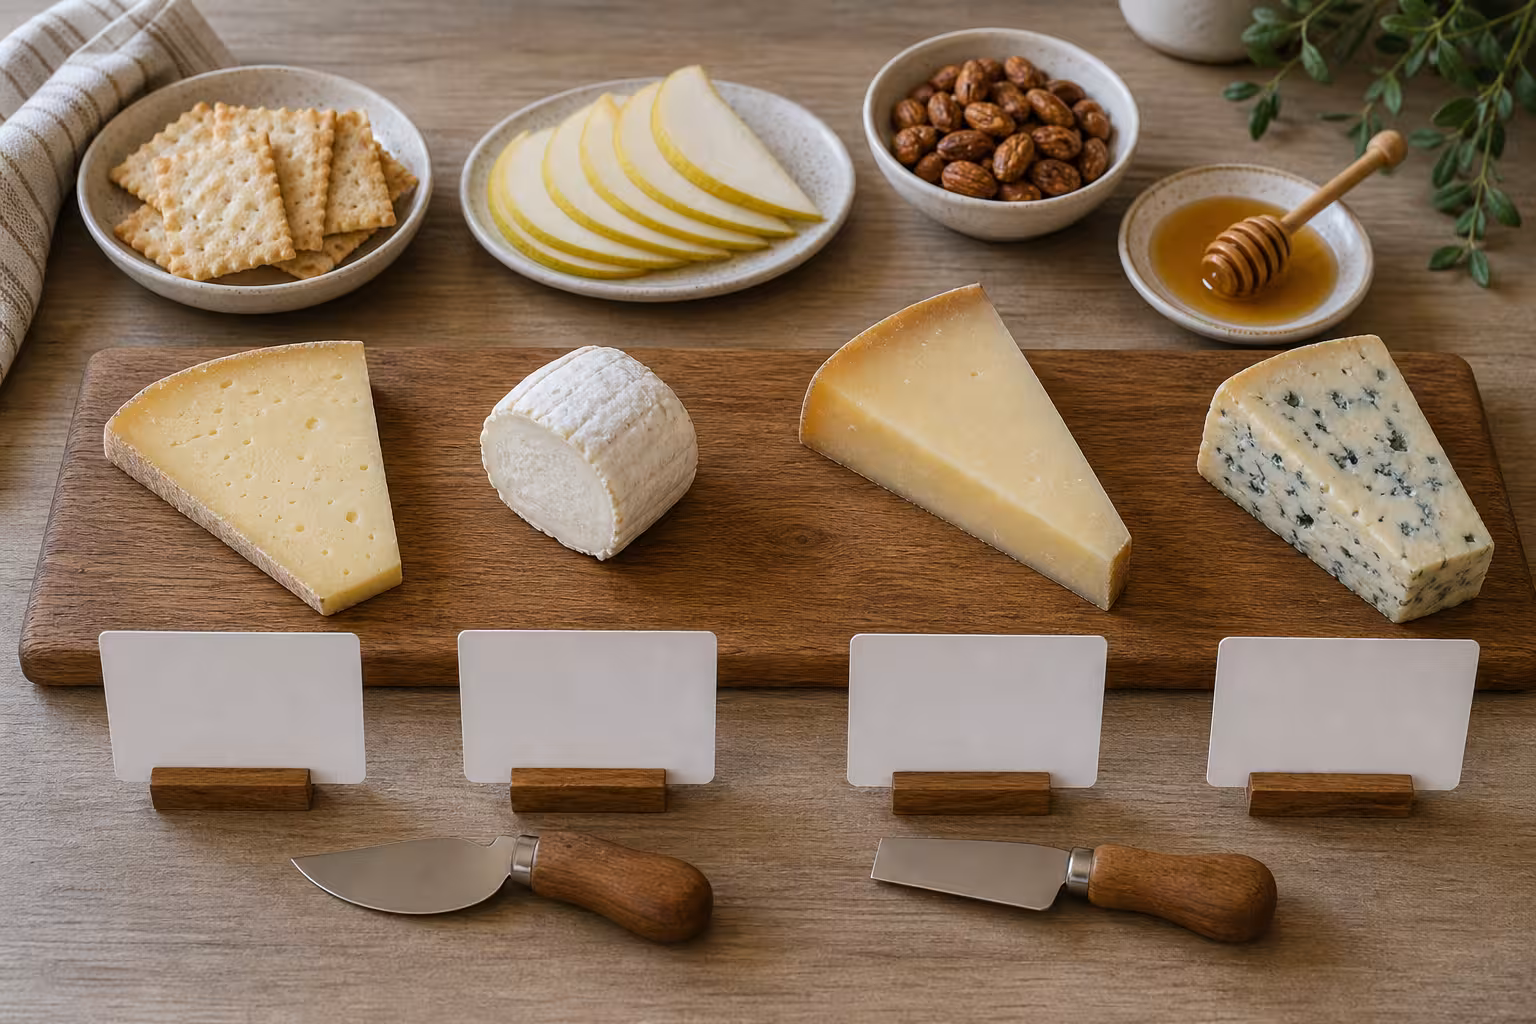
The simplest learning board starts with a soft fresh or young cheese, such as chevre, fresh mozzarella, young robiola, or a mild cow’s milk cheese. Add a firm aged cheese, such as cheddar, comte, gouda, manchego, or an alpine-style wedge. Add a bloomy rind cheese like brie, camembert, or a small regional cousin. Finish with a blue, a washed rind, or something sheepy and savory. If that last cheese sounds intimidating, buy a smaller piece and treat it as a punctuation mark, not the main course.
Temperature is part of the lesson
Cold cheese hides itself. The fat stays firm, the aroma stays locked up, and the texture can feel waxy or flat. A board that teaches should come out of the refrigerator before serving, but not so early that soft cheeses collapse. The exact timing depends on room temperature, cheese size, and humidity, but the principle is simple: give the cheese enough time to smell like itself.
This is where a learning board becomes more interesting than a pretty board. Taste a firm cheese straight from the fridge, then taste it again after it has relaxed. The difference is not imaginary. The salt softens. The aroma opens. The texture stops feeling like a refrigerator product and starts feeling like food. Fresh cheese can move from chalky to creamy. Bloomy rind cheese can move from muted butter to mushroom, cream, hay, or brassica. Blue cheese can shift from sharp salt to a fuller mix of cream, pepper, earth, and sweetness.
Do not leave cheese out all afternoon and call it education. The goal is not neglect. The goal is service temperature that lets aroma and texture show up without pushing the cheese into fatigue.
Let each cheese have a plain bite
The first taste should be plain. No honey, no fruit, no nut, no cracker unless the cheese needs structure to reach your mouth. A plain bite tells you the baseline. Is the cheese lactic, nutty, grassy, buttery, salty, funky, sharp, sweet, earthy, mushroomy, brothy, or mineral? Does the texture crumble, stretch, melt, smear, or resist? Does the rind taste like part of the cheese, or does it dominate? Does the finish disappear quickly, or does it stay around like a memory of roasted nuts or cream?
Only after that first plain bite should the pairings enter. Pear or apple can brighten rich cheese. Honey can round blue cheese and aged sheep milk cheese. Toasted nuts can echo the nuttiness in alpine and aged gouda. Plain crackers can reset the palate and carry soft cheese without adding too much personality. Bread is often better than flavored crackers because flavored crackers tend to make every cheese taste like the cracker aisle.
The board should not be afraid of empty space. Space is useful. It keeps aromas from merging, gives knives somewhere to land, and makes the board easier to read. Crowded boards photograph well, but they often taste muddier than they look.
Cut to reveal texture
How you cut the cheese changes what people notice. A wedge of hard cheese can look closed until a few small pieces are broken away. A blue cheese looks less severe when served in small pieces near a sweet pairing. A bloomy rind cheese should show rind, cream line, and paste if possible, because those zones can taste different. A crumbly cheese can be started with a few rough pieces so guests do not feel they are damaging it.
The serving knife matters less than permission. People hesitate when a wedge looks perfect. Give the board a starting point. Cut the first piece, leave the knife in a sensible place, and make it obvious that the cheese is meant to be eaten, not admired from a distance.
Avoid one shared knife for wildly different cheeses if the board includes blue or washed rind. The strong cheese will travel. A little cross-contact is not a disaster, but if every piece of young goat cheese starts smelling faintly blue, the lesson becomes less clear. Separate knives keep the conversation honest.
Taste from quiet to loud
The order matters. Begin with the mildest cheese and move toward the most assertive. A fresh cheese after a blue cheese will taste like almost nothing. A washed-rind cheese can change the room before the board even starts, so give it a position that makes sense. If one cheese is especially strong, place it at the end of the path or slightly apart.
This order is not snobbery. It is palate management. A learning board should protect attention. You want to notice the fresh cheese’s milkiness before salt and rind take over. You want the firm cheese’s nutty depth before blue cheese coats the finish. You want each cheese to get a fair audition.
If people are tasting together, ask only one question at a time. “What changed after the pear?” is better than “What flavor notes are you getting?” The first question gives the palate a job. The second can make people feel as if they are taking a test. Cheese tasting should stay relaxed enough that honest answers are welcome. “It tastes like buttered toast” is more useful than pretending to find meadow flowers because the label sounded poetic.
Build the next board from what happened
The best part of a learning board is that it points to the next one. If the firm cheese disappeared first, build an aged-cheese board next time and compare cheddar, comte, manchego, and gouda. If the bloomy rind was the surprise, try three versions at different ripeness levels. If the blue cheese was too much, try a milder blue with honey and pear, or put it beside a creamy cow’s milk cheese so the contrast feels less abrupt.
Keep notes, but keep them plain. Write the cheese name, milk type if you know it, texture, what people liked, what pairing helped, and whether you would buy it again. You do not need a formal tasting grid. A sentence is enough. “Good with pear, too salty alone, better after warming up” is a useful note because it changes future buying.
A cheese board becomes less mysterious when it stops being a performance. Start with contrast. Serve at a humane temperature. Taste plain before pairing. Give every cheese a clean path. Notice what changes. That is the whole apprenticeship, and it fits on one board.