The box arrived on a Wednesday.
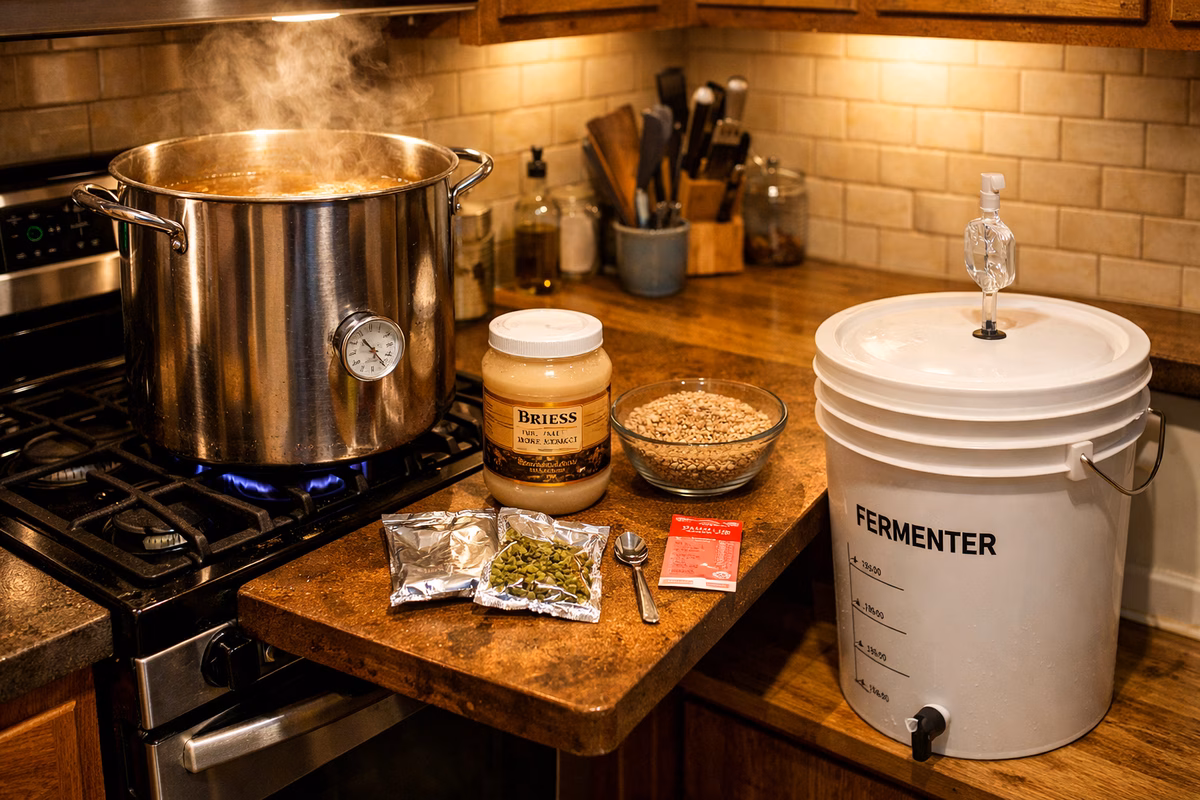
I’d ordered a beginner homebrewing kit after reading exactly one guide and watching two YouTube videos—enough information to be dangerous, not enough to be competent. The box was heavy. Inside: a plastic fermenter with a lid and airlock, a length of siphon tubing, a hydrometer I didn’t yet understand, a packet of sanitizer, and a recipe kit containing a bag of liquid malt extract, two small packets of hops, and a sachet of dried yeast.
Also inside: the nervous energy of someone who has committed to a project they don’t fully understand.
The recipe was an American pale ale. The kit instructions described it as “an excellent first brew: forgiving, flavorful, and ready in three weeks.”
It took me four weeks, two panicked text messages to a friend who homebrews, and one evening of staring at an airlock wondering if it was broken.
But the beer was good. Not great. Not award-winning. But good—good enough that I sat on the porch with the first bottle and felt something I hadn’t felt since I built a bookshelf in college: the quiet, unreasonable pride of having made a thing that works.
This is the story of that batch, and a guide to making your own first one without the panic.
Brew day: the morning of
Cleaning everything (the boring part that matters most)
The instructions said to sanitize everything that would touch the beer. I thought this meant “rinse things.” It does not.
Sanitization in homebrewing is obsessive and non-negotiable. Wild yeast and bacteria are everywhere—on your hands, in the air, on the walls of the fermenter—and they will eat the same sugars your yeast eats, except they’ll produce flavors that range from unpleasant to undrinkable.
I mixed the sanitizer (Star San, the pink stuff) in the fermenter, swished it around, then dunked every piece of equipment: the lid, the airlock, the spoon, the thermometer, the hydrometer, the siphon. If it was going near the beer, it got sanitized.
This took twenty minutes. It felt tedious. But every homebrewer I’ve spoken to since says the same thing: the beers that went wrong were almost always beers where sanitation was rushed. Clean equipment is the single biggest predictor of a drinkable first batch.
The boil (where it starts to feel real)
I filled my largest stock pot with 2.5 gallons of water and brought it to a low boil. Then I stirred in the liquid malt extract—a thick, syrupy amber liquid that smelled like bread batter and molasses.
This is the step where the kitchen transforms. The steam carries a rich, sweet, grainy aroma that fills the house and announces, in no uncertain terms, that something interesting is happening.
The liquid—now called “wort” (pronounced “wert”)—bubbled gently. I added the first packet of hops (the “bittering” addition) and set a timer for sixty minutes.
Sixty minutes is a long time to watch a pot boil. I spent it:
- Watching the pot for the first fifteen minutes, afraid of a boilover
- Googling “what does a stuck fermentation look like” for the next fifteen
- Texting my homebrewer friend: “Is it normal for the wort to smell this good?”
- His reply: “Yes. Don’t taste it yet.”
With ten minutes left, I added the second packet of hops (the “aroma” addition). The citrus and pine fragrance was immediate and dramatic. The kitchen went from smelling like a bakery to smelling like a bakery inside a forest.
Cooling and pitching
After the boil, the wort needs to cool to roughly 68°F (20°C) before you add yeast. Yeast are living organisms; drop them into hot wort and they die.
I filled the sink with ice water and set the pot in it, stirring occasionally. This took about 25 minutes. Commercial brewers use plate chillers or counterflow chillers that do this in minutes, but an ice bath works fine for a beginner batch.
Once the wort was cool, I poured it into the sanitized fermenter, topped up with cold water to reach five gallons, and took a hydrometer reading. The hydrometer measures the density of the liquid—higher density means more sugar, which means more potential alcohol.
My original gravity (OG) was 1.048. The recipe said 1.050. Close enough. I felt a small thrill of competence.
Then I tore open the yeast packet, sprinkled it over the surface of the wort, sealed the fermenter, and pushed the airlock into the lid.
The airlock sat there. Motionless. Silent.
I stared at it for several minutes, waiting for something to happen.
Nothing happened.
The wait: fermentation and doubt
Day one: silence
The airlock didn’t move. I checked it in the morning, at lunch, and after dinner. Still nothing.
I texted my friend: “The airlock isn’t bubbling. Did I kill the yeast?”
His reply: “Give it 24 hours. Relax.”
Day two: life
At 6:00 a.m., I checked the fermenter before checking my phone. The airlock was bubbling. Not rapidly—a gentle, rhythmic blip every eight seconds or so. Each blip was a tiny exhale of CO₂, the byproduct of yeast consuming sugar and producing alcohol.
That sound—blip… blip… blip…—is the heartbeat of homebrewing. It means the yeast are alive, the fermentation is active, and your beer is being born.
I watched the airlock for an embarrassing amount of time.
By evening, the bubbling had accelerated. Every three seconds. Then every two. The fermenter’s lid bulged slightly with pressure. A foam called “kräusen” formed on the surface of the beer—a thick, tan, slightly alien-looking layer that’s completely normal and a sign of vigorous fermentation.
Days three through seven: active fermentation
The bubbling peaked around day three—almost continuous, like a tiny, patient engine—then gradually slowed. The kräusen rose, turned from tan to brown, and eventually fell back into the beer.
By day seven, the airlock was bubbling once every thirty seconds. The fermentation was winding down.
I opened the fermenter (sanitized hands, quick peek) and the beer was… recognizably beer. Dark gold, slightly cloudy, with a yeasty aroma that was sharp and young but undeniably beer-like.
Days eight through fourteen: conditioning
The recipe said to leave the beer in the fermenter for two weeks total. The second week is “conditioning”—the yeast clean up after themselves, reabsorbing some of the harsher byproducts of fermentation and smoothing out the flavor.
This is the hardest part of homebrewing. The beer is right there, inside a bucket in your closet, and you can’t drink it yet. You have to wait while invisible organisms finish their work on a timeline you can’t control.
I took another hydrometer reading on day twelve. Final gravity: 1.010. The recipe predicted 1.012. The difference between OG and FG told me the alcohol content: approximately 5.0% ABV.
I had made beer. Technically. But it wasn’t carbonated yet.
Bottling day: the second moment of truth
Priming and filling
Homebrew gets its carbonation not from force-carbonating with CO₂ tanks (that’s kegging, a future upgrade), but from a second fermentation in the bottle. You add a small, measured amount of sugar—“priming sugar”—to the finished beer, bottle it, and cap it. The residual yeast eat the priming sugar, produce CO₂, and the CO₂ dissolves into the beer because it has nowhere to escape.
I boiled ¾ cup of corn sugar in two cups of water, cooled it, and gently stirred it into the beer in a bottling bucket. Then I siphoned the beer into 48 brown glass bottles (saved over two months of buying good beer—the only part of homebrewing where being a regular beer drinker is a qualification) and capped each one with a handheld bottle capper.
The capper was satisfying. Each crimp sealed the bottle with a small, decisive snap that felt like signing a document.
The two-week wait
Bottle conditioning takes about two weeks at room temperature. The bottles sat in a dark corner of the closet, slowly carbonating.
I checked them daily. Not by opening—that would release the CO₂—but by holding them up to the light and looking for tiny bubbles, or by gently tipping one and watching for a thin haze of yeast at the bottom.
By day ten, I couldn’t wait anymore. I put one bottle in the fridge overnight.
The first pour
I opened the bottle the next evening.
There was a gentle hiss—not aggressive, not flat, but a quiet, reassuring pssst that said “something happened in here.”
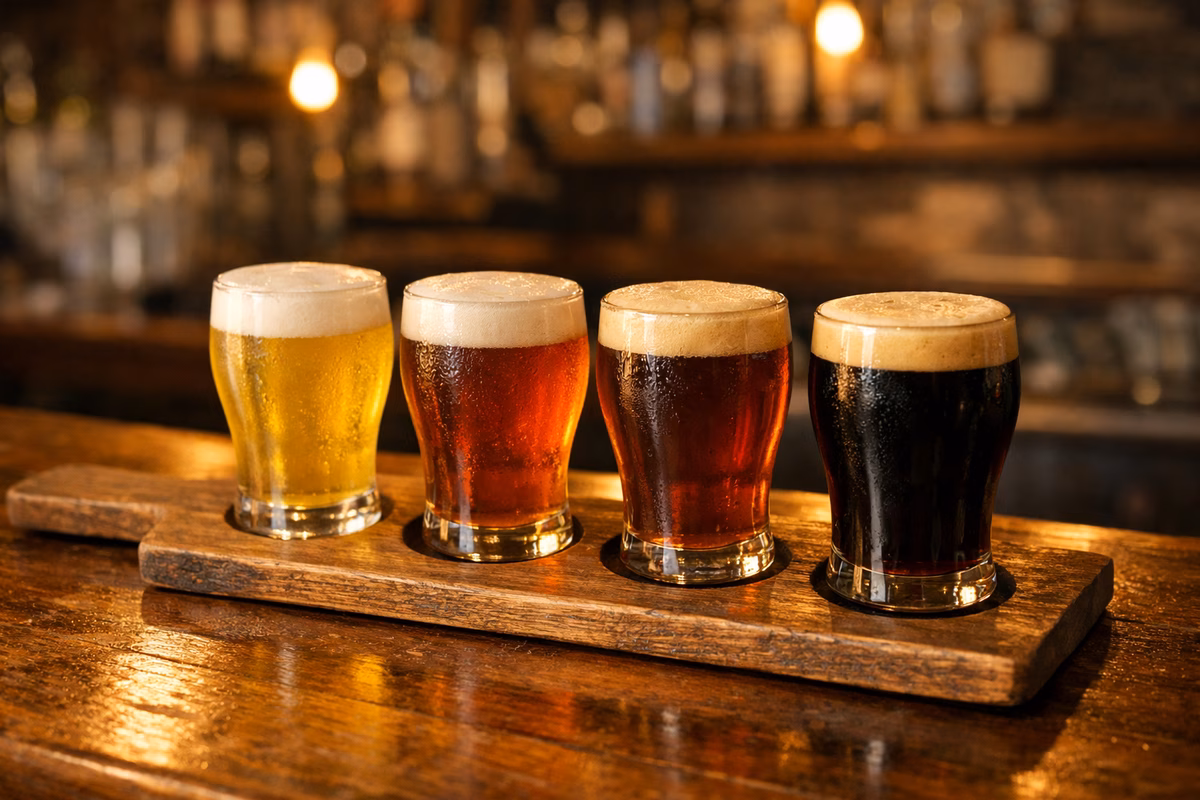
I poured it into a glass. The beer was golden, slightly hazy, with a white head that rose about a finger’s width and stayed. The aroma was citrus and bread. The color was right. The carbonation was right. It looked like beer.
I took a sip.
It tasted like beer. My beer. An American pale ale with a clean malt backbone, a moderate citrus hop bitterness, and a dry finish that made me want another sip immediately.
Was it as good as the pale ale at the brewery down the street? Honestly, no. It was slightly less clear, slightly less balanced, and the hop aroma had faded more than I wanted.
Was it good? Yes. Genuinely, honestly good. The kind of beer you’d happily drink on a Friday evening without any disclaimer.
I sat on the porch with the glass and felt that quiet pride. Not because the beer was perfect, but because it existed. Because I had turned water, malt, hops, and yeast into something drinkable through a process I didn’t fully understand three weeks earlier.
My homebrewer friend texted: “How’s the first bottle?”
I sent back: “Starting the second batch tomorrow.”
What I learned (that the instructions didn’t say)
Sanitation is the whole game. Every off-flavor I’ve tasted in homebrew since—the bandaid-like phenols, the sour tang of wild bacteria—traces back to a shortcut in cleaning. Sanitize everything, every time.
Temperature matters more than ingredients. The same recipe brewed at 65°F and 75°F produces two different beers. Cooler fermentation is almost always cleaner. Find the coolest, most stable spot in your home and ferment there.
Patience is a skill. Opening a bottle too early—before the yeast has finished conditioning—gives you flat, young-tasting beer. Waiting the full two weeks (or three, or four) is hard and worth it.
Your second batch will be better. Not because you’ll buy better equipment, but because you’ll relax. The anxiety of the first batch—is the airlock broken? did I kill the yeast? is that smell normal?—burns off after one success. Relaxed brewers make better beer.
The hydrometer is your friend. It’s the only objective tool you have. It tells you where you started, where you finished, and whether fermentation is actually complete. Don’t bottle until two readings, taken two days apart, are the same.
What to brew second
If your first pale ale worked, here’s where to go:
A wheat beer. Wheat beers are forgiving, fast, and teach you about yeast character—the banana and clove flavors in a hefeweizen come entirely from the yeast strain, not from any added ingredient.
An amber ale. Same process as the pale ale, but with specialty malts that add caramel and toffee flavors. It’s a small step that shows you how grain variety changes everything.
An Irish stout. Dark beers aren’t harder to brew—they just use darker malt. A dry stout is actually one of the simplest recipes in homebrewing, and the result is impressive to anyone who thinks making dark beer is advanced.
Next steps
- Read Homebrewing Basics for the complete technical reference behind what you just did
- Explore Understanding Hops for why those two hop additions tasted so different
- See Beer Styles Guide to choose your second recipe by style
- Try Serving and Storage for keeping your bottles at their best
- Check The Beer Tasting Night for sharing your homebrew with friends