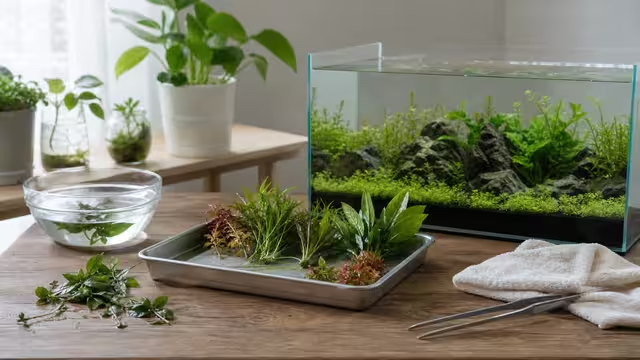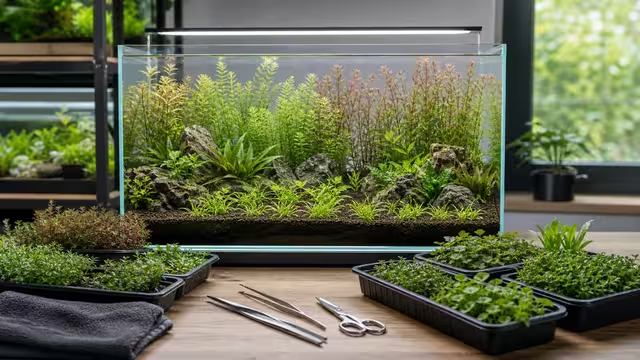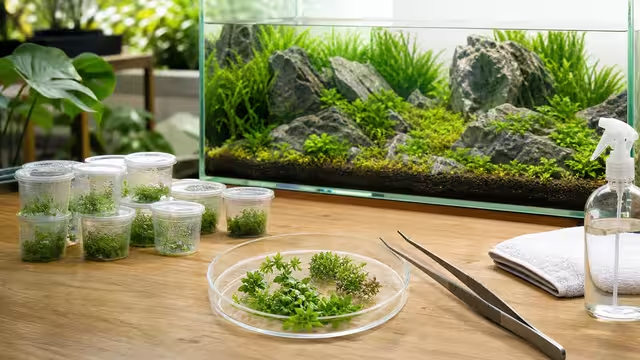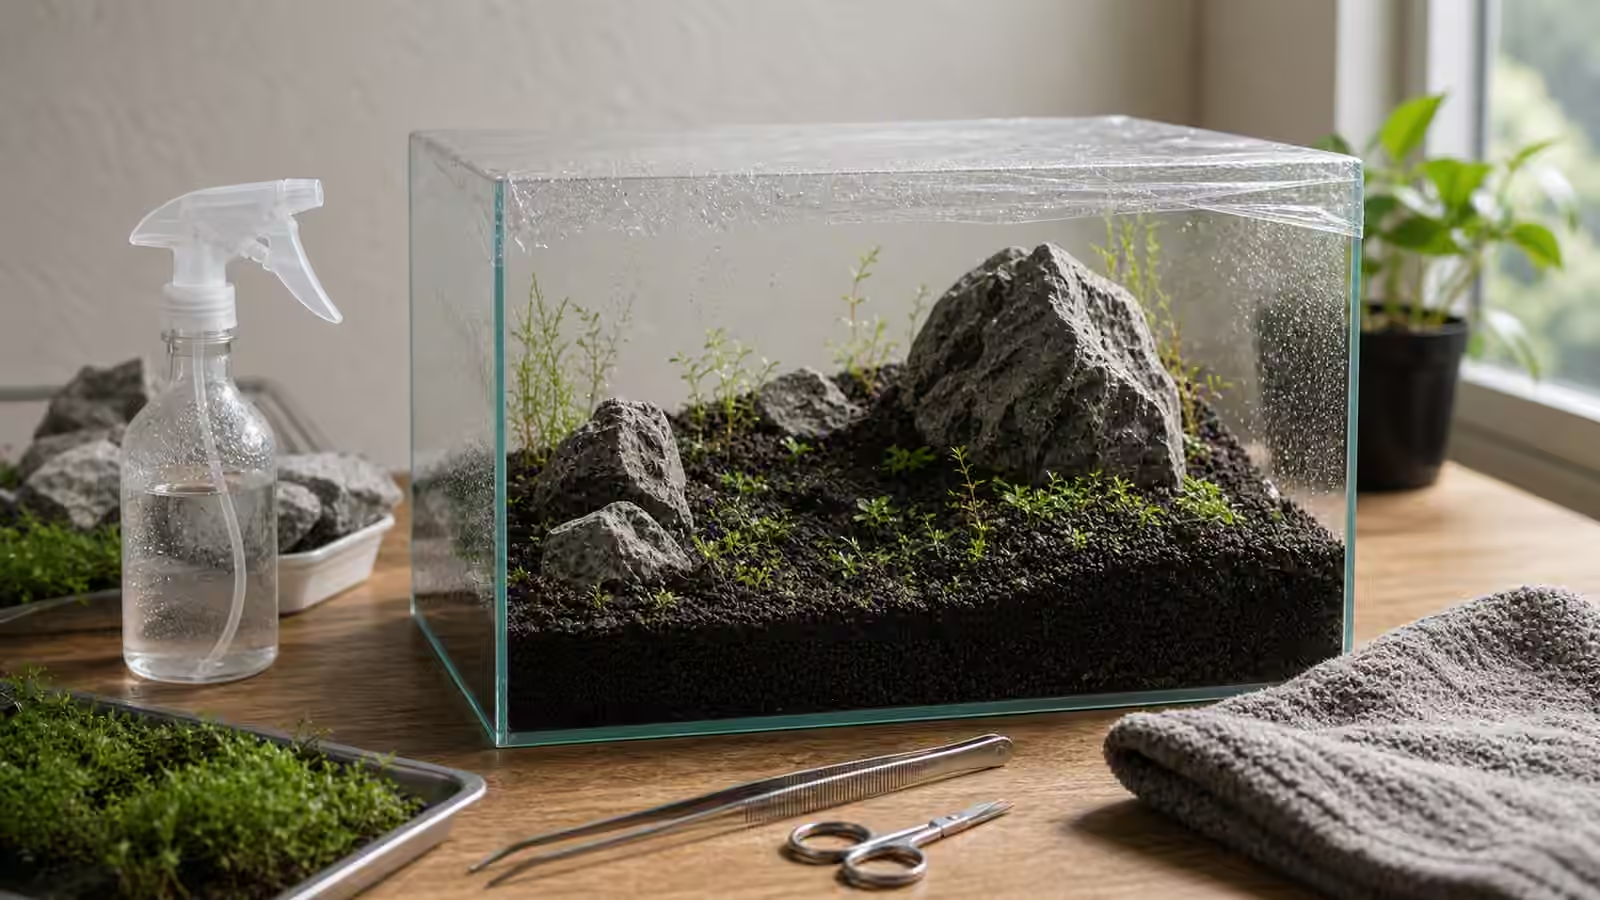
The dry-start method looks simple in photographs: damp substrate, tiny plants, clear wrap, and a bright tank that has not been flooded yet. The appeal is understandable. Roots can settle before buoyancy pulls plants loose, carpeting plants can spread without fish disturbing them, and the aquascape can be adjusted without reaching through a full water column. The method can be useful, but it is not a shortcut around the biology of a planted aquarium.
A dry start is a humid growing phase before the tank becomes an aquarium. That distinction matters. During the dry phase, you are managing moisture, air exchange, light, plant transition, mold risk, and substrate behavior. After flooding, you still need cycling, water testing, equipment checks, and patient stocking. The dry phase may help certain plants anchor, but it does not make the later flooded system instantly mature.
When A Dry Start Makes Sense
The method is most useful when the planting challenge is physical anchoring. Tiny foreground plants, moss on hardscape, and some shallow-rooted species can be difficult to keep down when a tank is filled immediately. Water lifts stems, substrate shifts, filter flow moves loose pieces, and every replanting clouds the tank. A dry start gives roots time to grip and gives the aquascaper time to correct gaps while access is easy.
It also helps with layout discipline. Because the tank is not full, you can view the hardscape from the normal sitting position, photograph it, and adjust slopes without draining anything. This connects naturally to Hardscape Layout Basics for Planted Tanks . If stones are unstable or the foreground path is too narrow, the dry phase makes the problem obvious before livestock or deep water make changes more disruptive.
The method makes less sense when the plant list does not need it. Rhizome plants attached to wood, many hardy stems, floaters, and large rooted plants can often be planted in a normal wet setup. A dry start also adds time and monitoring. If you are already struggling to maintain moisture, light, and patience, a straightforward low-tech planted start may be kinder to both you and the plants.
Moist, Not Swamped
The most common beginner mistake is treating dry start as a sealed wet box. The substrate should stay evenly damp, but standing water around plant crowns can invite rot. The air should stay humid, but the tank still needs occasional exchange so the environment does not become stagnant. Clear wrap or a lid can hold humidity, but it should not turn the tank into a forgotten container in a sunny window.
Misting is a maintenance rhythm, not decoration. Too little moisture dries fine roots and tender leaves. Too much moisture leaves plants sitting in sour pockets. The right level depends on room temperature, airflow, substrate, plant density, and cover fit. Watch the plants rather than following a fixed ritual blindly. Leaves that crisp at the edges, collapse, or turn translucent are giving different messages, and the response should be measured rather than dramatic.
Light also needs restraint. A dry start is often placed under strong light because the tank is being built for plants, but intense long light over a sealed humid tank can stress plants and encourage nuisance growth. The goal is steady establishment, not maximum speed. The same thinking behind Photoperiod and Timer Setup applies before flooding: consistent duration, no direct sun surprises, and one change at a time when plants look unhappy.
Plant Choice And Honest Expectations
Carpeting plants are the usual reason people try a dry start, but the method does not make every carpet easy. Some foreground plants still want strong light, good nutrition, carbon availability after flooding, and frequent trimming once established. If a plant is demanding in water, a dry start may only postpone the hard part. Carpeting Plants Reality Check is worth reading before turning the dry phase into a promise the flooded tank cannot keep.
Plants grown emersed may also change after flooding. Leaves that looked perfect in humid air can melt, yellow, or be replaced by submerged growth. That does not always mean the dry start failed. It means the plant is transitioning from one form of life to another. The aquascaper’s job is to preserve enough healthy roots and growing points that the plant can make that transition without the whole layout unraveling.
Moss deserves special caution. It can attach well during a dry start, but it can also dry at the edges, mold in stagnant pockets, or trap debris after flooding. Use thin layers rather than thick pads. A lush lump of moss on day one can become a brown sponge underneath later. The better goal is even contact with wood or stone, good moisture, and room for water to move through the growth once the tank is flooded.
Mold, Melt, And The Value Of Early Intervention
Some fuzzy growth in a humid planted setup may appear on wood, old plant tissue, or nutrient-rich substrate. Not every patch is a disaster, but it should be noticed early. Remove decaying leaves, improve air exchange, reduce excess wetness, and avoid feeding the problem with unnecessary organic debris. If a plant section is clearly rotting, take it out instead of waiting for the rest of the tank to prove the point.
The same applies to plant melt. A few damaged leaves after planting are ordinary. Widespread collapse, bad smell, or mushy crowns suggest the conditions or plant choice are wrong. Dry-start planning works best when you are willing to edit. Saving every struggling piece because it was expensive can cost more time than replacing a weak section or changing the plan.
Keep the setup accessible. If the tank is positioned where opening the cover, misting, or removing dead leaves is annoying, you will do those jobs less often. The dry phase is not passive. A beautiful humid tank on a shelf still needs human attention before it becomes the flooded aquarium you imagined.
Flooding Without Ripping Up The Work
Flooding is the most delicate transition. Add water slowly, soften the pour, and avoid blasting substrate or plant crowns. A plate, plastic bag, or gentle deflection surface can keep the stream from drilling into the layout. Fill in stages if the substrate or plants start to lift. Watch for trapped air, floating pieces, clouding, and disturbed slopes.
Once the tank is full, the rules change. Filtration begins moving water, the surface needs gas exchange, the substrate starts interacting with the water column, and any plant dieback can affect water quality. Test the water, protect filter intakes, and do not add animals because the plants look established. A dry start can grow roots, but the nitrogen cycle still needs evidence, as described in Cycling a Planted Aquarium Before Animals .
After flooding, keep expectations modest. Some plants pause. Some melt and regrow. Some areas lift and need replanting. This is not failure. It is the point where a planted layout becomes a living aquarium rather than a humid terrarium project. Maintenance should become calmer, not more frantic: steady light, careful water changes, gentle trimming, and patient observation.
A Method, Not A Badge
Use a dry start because it solves a specific planting problem, not because it sounds more advanced. The method asks for moisture judgment, restraint, and a willingness to wait through two phases of establishment. It can produce beautiful foregrounds and stable attachment, but only when the aquascaper remembers that roots are not the whole tank.
The best dry-start plan has an exit plan from the beginning. Know how you will flood, how you will cycle, how you will handle early melt, and what animals will need before they enter. If those answers are clear, the dry phase can be a useful chapter. If they are vague, the better move is to slow down and design the whole aquarium, not just the first photograph.